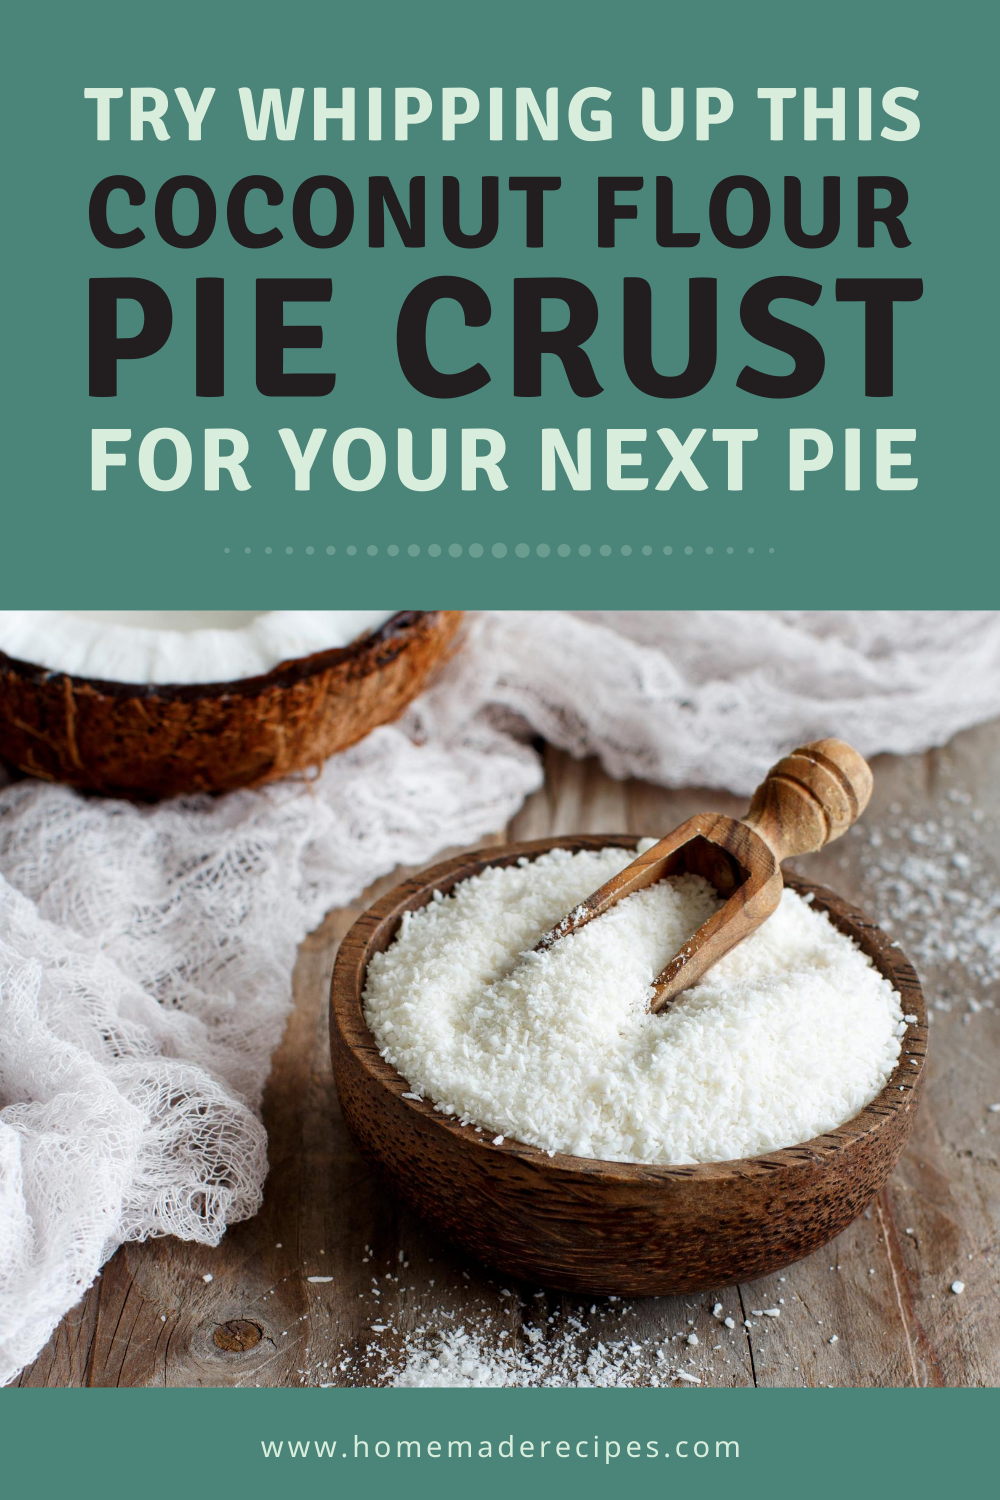
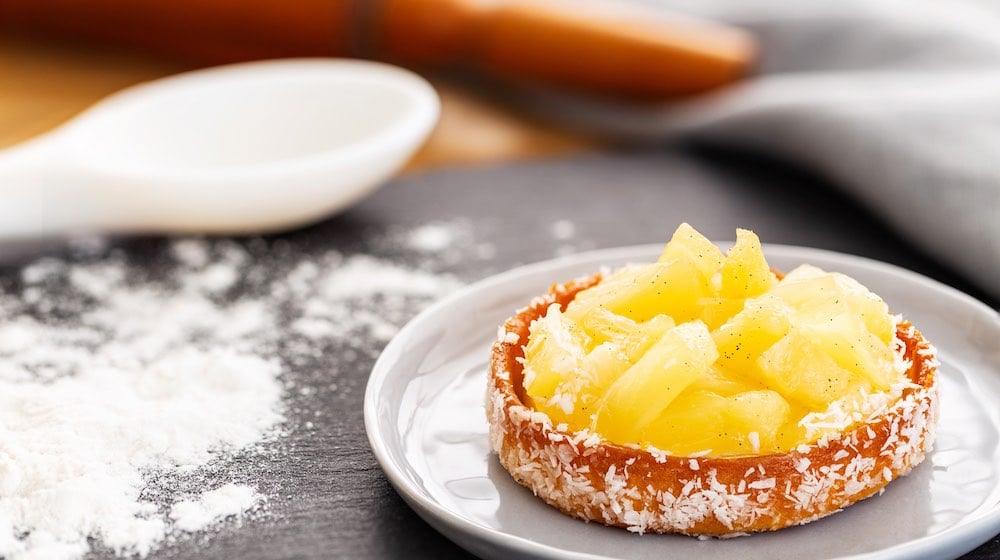


Watching your carbs or not you will love this homemade coconut flour pie crust which we will be sharing with you. With summer fully upon us and plenty of fruits hitting their peak seasons, what other reason do you need to start baking fresh pies?
Make your own guilt-free pie crust now with our easy recipe guide!
RELATED: Healthy And Fudgy Coconut Flour Brownies To Whip For Your Family
Coconuts, They're Not Just For Drinking
Ingredients:
- 3/4 cup of coconut flour, sifted
- 2 eggs or a flax egg substitute
- 6 tablespoons of butter or solid coconut oil
- 1/4 teaspoon of sea salt
Step 1: Preheat Oven and Start Dough
Firstly, preheat your oven to 350°F. Next, place all the ingredients into a food processor. If you're using a flax egg substitute, you may notice your crust will come out a bit on the softer side compared to the egg version.
REMINDER: Make sure the coconut oil is solidified when doing this recipe.
2. Mix Dough
Using your food processor's pulse setting, pulse the ingredients until they start to form into a ball. Coconut flour is very absorbent so if your dough looks very dry you may add a tablespoon of cold water to bring everything together.
This step can be performed without a food processor but will take longer and require more effort.
Step 3: Form Dough And Allow To Rest
Next, remove the dough ball from the food processor and flatten it out to a disc shape. Transfer the dough to the fridge and allow to chill for at least 20 minutes.
This step is very important as it allows the butter or coconut oil to firm up which lessens shrinkage during the baking process. This step will also give time for the moisture to distribute back throughout the dough.
Step 4: Roll Out Dough
Remove your chilled dough from the refrigerator and sandwich it between two sheets of parchment paper. Using a rolling pin, evenly roll out your dough to about 11 inches in diameter.
To help achieve an evenly rolled out dough, after every 2-3 passes of your rolling pin, turn the dough about 90°. After you've rolled your dough out, return it to the fridge to chill for another 5 minutes.
Step 5: Shape Dough In Pan
After 5 minutes in the refrigerator, remove one sheet of parchment and flip your coconut flour pie crust dough onto a 9-inch pie pan. Remove the remaining layer of parchment and gently push the dough into the pan being careful not to put too much pressure on the dough.
Using a knife, cut off any excess and smooth out the edges using your fingers.
Step 6: Bake Pie Crust
Before placing in the oven to bake, poke the pie crust all over with a fork. This will allow steam to escape and prevent the crust from puffing up in the oven. Bake the pie crust for 15 minutes and allow to fully cool before filling with your favorite filling and baking again, if required.
NOTE: Aside for its presentation value, we recommend using a pan with fluted edges. This eliminates crimping edges after placing your dough into the pan.
And there you have it, a simple and easy recipe to follow when making your own coconut flour pie crust. Not only that, it only uses up 4 ingredients, so no excuses for not making this one. However, we do have a few pro tips to keep in mind to make sure your pie crust comes out perfect.
Pie Crust Making Tips
- Sweetener – This recipe doesn't include any sweeteners but you can add sugar or a granulated sweetener to turn this into a sweet dough. Add 1-2 teaspoons of your sweetener of choice in step 1 to bring up the sweetness of your end product.
- Pastry Cutter – As mentioned above, a food processor helps with the pie crust making process but isn't required. You can use a pastry cutter to combine the dough ingredients into a dough. Once the dough starts to resemble wet sand, use your hands to form it into a dough ball.
- Rolling Out The Dough – This coconut flour pie crust recipe can fit baking pans from 7 to about 10 inches in diameter. Be sure to roll out your dough at least 2 inches wider in diameter than the pan you'll be using so you have elbow room. One of the worst feelings is not rolling out your dough enough and having to do it all over again.
- Chilling The Dough Twice – Chilling the dough after you've rolled it out is a very important step. This will help keep the dough together and lessen the chance of it ripping when transferring it to your pan.
Hopefully, this recipe and the tips above help you to make a delicious and healthier option of a pie crust for your next pie. A coconut flour pie crust is so versatile and works with many different types of fillings. We recommend using this for an open-faced pie or a quiche as the crust is a bit on the softer side and not glutenous.
What are some of your favorite pie recipes? Try the recipe above? Tell us in the comment section below!
Up Next:
- Homemade Chicken Pot Pie Recipe
- 8 Delicious Coconut Flour Waffles You Can Make For Quarantine
- How To Make Mozzarella Sticks And Tequeños
Don’t forget to keep in touch, foodies! You can also WRITE FOR US and share your delectable recipes!
Also, make sure to follow us on Facebook, Instagram, Pinterest, and Twitter!