What the heck is a pineapple “doughnut”, you ask? Well, wouldn't you like to know.

Pineapple “Doughnuts”
Doughnuts are an essential part of the American food culture: Homer Simpson can’t stop salivating at the thought of doughnuts, every police officer has heard too many jokes about doughnuts, every desk job worker sees a light at the end of the tunnel whenever some kind soul brings a box of doughnuts in for the whole office… from fictional to mundane, doughnuts occupy a very special place in our everyday lives.
I’m just as big of a fan as the next person — how could I not be when doughnuts are so darn good? — but when I see an interesting twist on the accepted idea of what a doughnut is, I have to give it a try. The New York Times recently ran an article on a peach “doughnut”… except the doughnut was the peach itself! Making a doughnut out of fruit? What madness was this?
I couldn’t resist giving the idea of “fruit doughnuts” a go, with one big exception — I wanted to use pineapples instead of peaches. Call it tropical inspiration; I had recently returned from a trip to Hawaii and wanted to make something different. What I ended up with was a pineapple “doughnut”, crusted with macadamia nuts and drizzled with a mango puree sauce… I don’t think I need to tell you how delicious it ended up being because the description already sounds drool-worthy! So let’s jump into how to make these tasty, fruity confections…
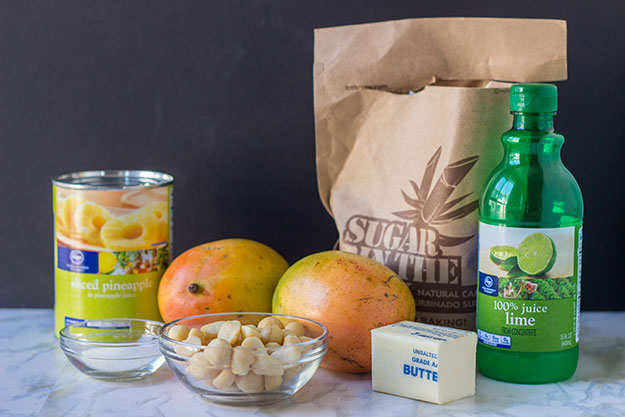
YIELD: 5-6 pineapple “doughnuts”
Ingredients:
- 1 ripe mango
- 1 1/2 tsp lime juice
- 1 tsp sugar (to taste; depends on how ripe your mango is)
- 1 can of sliced pineapples or one fresh ripe pineapple, sliced into rings
- 1 cup unsalted macadamia nuts
- 1/4 cup raw sugar
- 4 tbsp unsalted butter
Tools You'll Need:
- glass with a wide brim (i.e. a mason jar with a wide neck)
- food processor
- fine-mesh sieve
- frying pan
Step 1
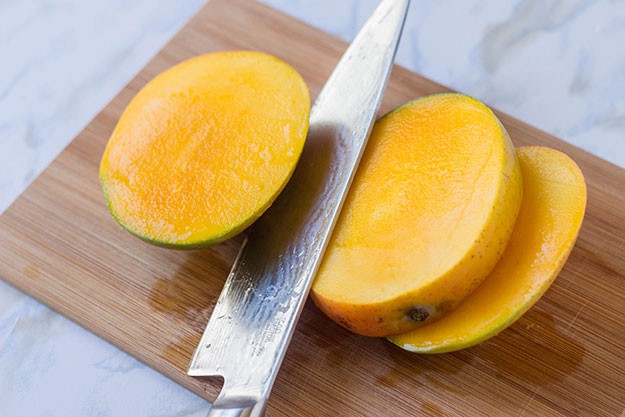
Slice the mango lengthwise on either side of the pit in the center.
Step 2
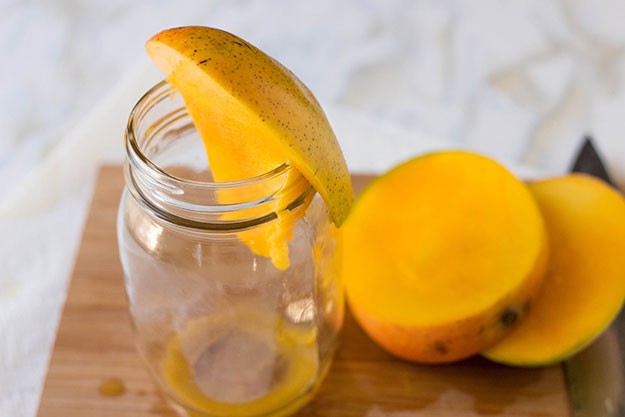
Using a wide-brimmed cup, take the mango slice and catch the brim between the mango flesh and its skin — the skin should be on the outside of the glass. Pull the slice down along the length of the glass and the brim of the glass will peel the skin off of the flesh. If you don’t manage to get most of the flesh into the cup on the first try, you can keep pulling the skin along the brim of the cup to scoop the rest of the flesh into the cup. Do the same for the other slice of the mango!
The center of the mango is mostly the pit itself–trying to peel the flesh away from both the skin and the pit isn’t worth the work. I peeled around the edges, then ate around the pit. Consider it your early snack for a job well done!
Step 3
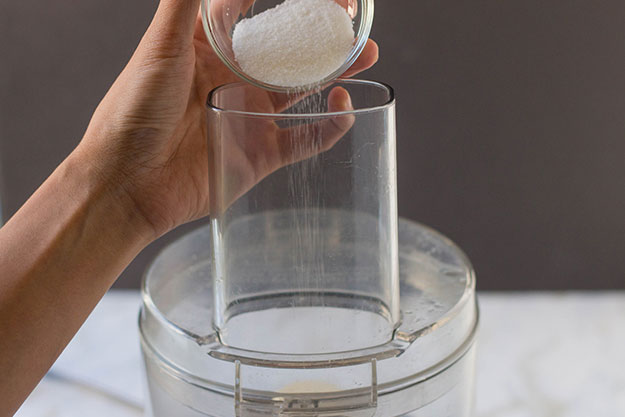
Add 1 tsp. of sugar to your food processor bowl. Make sure you have extra around just in case — I only needed 1 tsp. because the mango I used was quite ripe, but you may need more depending on the sweetness of what you're working with.
Step 4
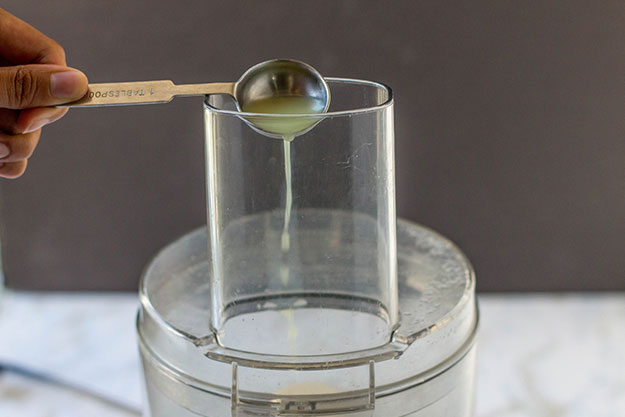
Add 1½ tsp. of lime juice. (Ignore the tablespoon I am clearly using in the picture, please!)
Step 5
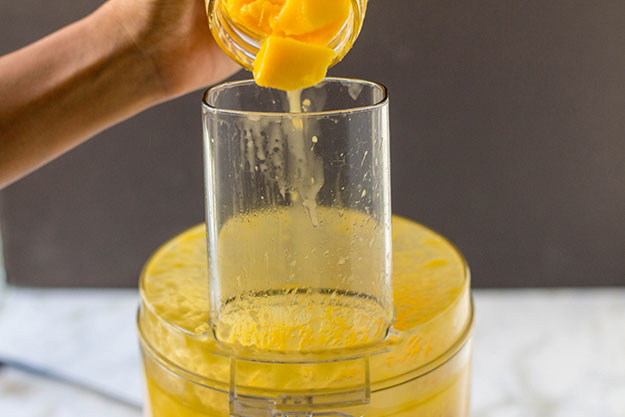
Turn on your food processor, then add the peeled mango into the bowl through the feeder tube. Try to add it quickly so you can cover the tube with the stopper that usually fits into the tube; otherwise, you’ll get mango juice splatters everywhere! (Not that I’m speaking from experience, of course…) Leave the food processor on for at least 10-15 more seconds after you’ve added the mango to ensure a pureed consistency. Once the mango is fully pureed, taste the sauce to make sure it’s sweet enough to your taste. Add more sugar and process again if necessary.
Step 6
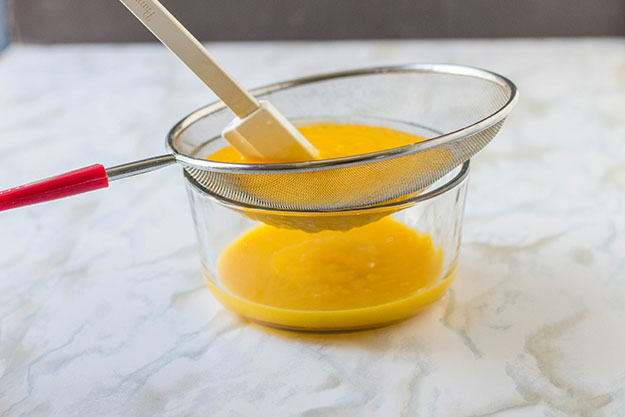
Place a fine-mesh sieve over a bowl and pour the puree into the sieve. Using a spoon or a spatula, gently press the puree through the sieve to strain the sauce from the mango pulp. It’s a little time-consuming, but definitely worth the effort at the end, I promise!
Cover the puree and place it in the fridge. Now that we’re done with the sauce, let’s move on to the doughnut itself. We’ll need to work with the food processor again, so you’ll need to wash out the processor and dry it before the next step. Be thorough about drying the bowl — otherwise, the macadamia nuts will stick to the sides and the consistency will be quite mushy.
Step 7
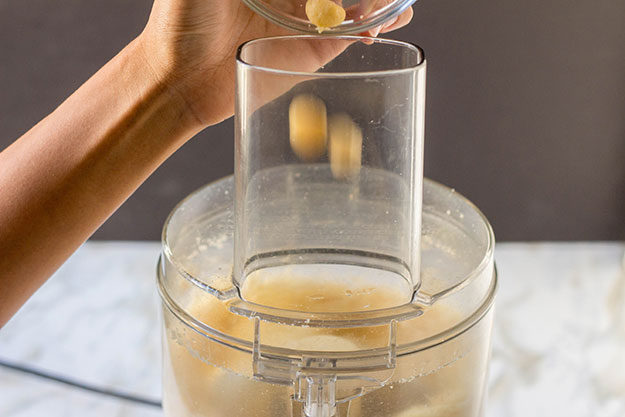
Add the macadamia nuts to the food processor while the processor is off. (The picture above has the processor on during this step, but trust me — it just gets mushy if you do it that way.)
Step 8
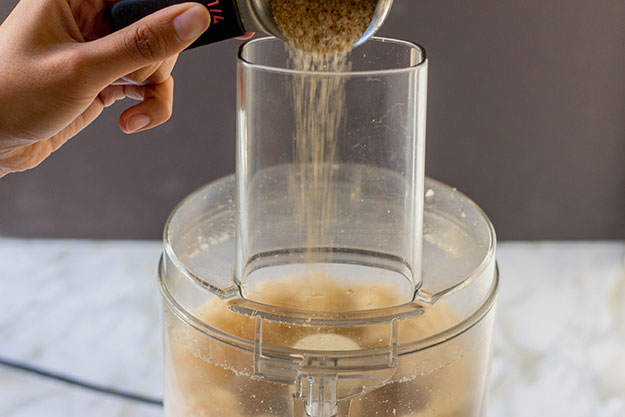
Add the raw sugar, then pulse the food processor in short bursts until the macadamia nuts are a large-crumb consistency. It’s very important that you don’t over-process the macadamia nuts; they’re very high in oil content, which makes it quite easy to turn into a nut butter instead of the crumbs we need!
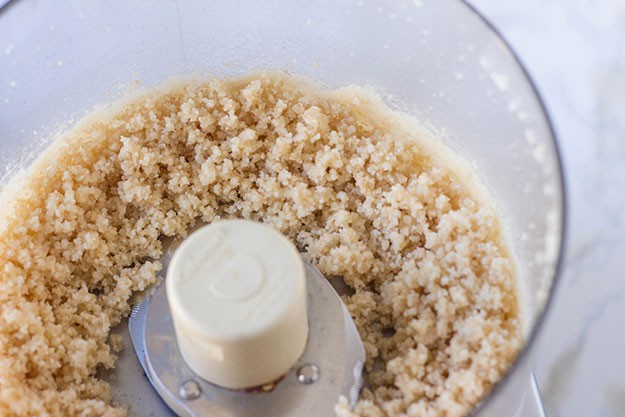
This is the size and consistency you’re looking for! Do you see the paste on the sides of the bowl? That’s what you’re trying to avoid. You may still get a small amount of paste on the sides, but hopefully not as much as you see in the picture above.
After you’re finished making the crumbs, empty the mixture onto a flat plate and spread it evenly.
Step 9
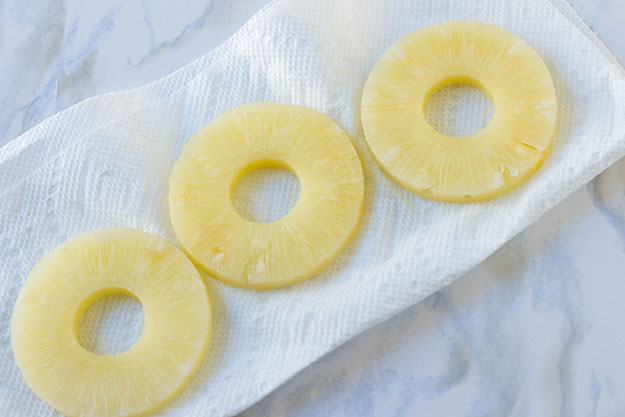
If you’re using canned pineapple rings, make sure to drain the can then pat the pineapple slices dry. The wetter the pineapple is, the soggier the end result will be. If you can, I recommend using fresh pineapple instead. Since it isn’t soaking in juice for a long period of time, it’s drier and much easier to work with. The only downside to using fresh pineapple is having to cut up the pineapple while being conscientious about removing the core (the core tends to be tough and fibrous).
Step 10
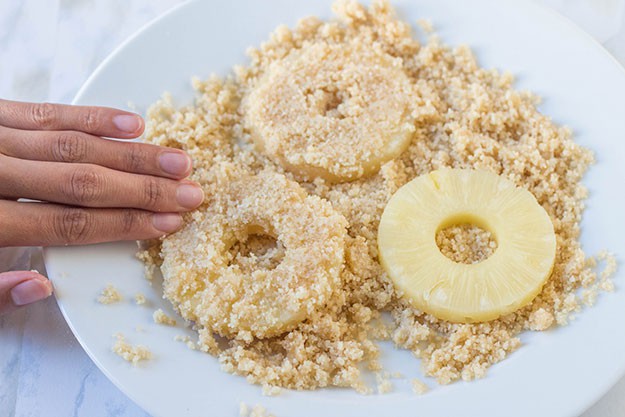
Take your pineapple slices and place them on top of your macadamia nut crumbs. Pat them down, then flip them and pat them down again. Try to make the coating thick, as some of the crust will fall off when it is fried.
I was able to make 6 doughnuts with the amount of crust I created, but even that stretched the amount of crumb pretty thinly… I would go with 5, just to make sure all of the doughnuts are coated evenly.
Step 11
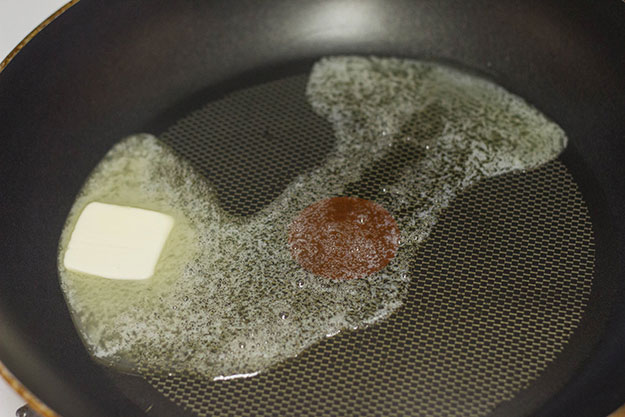
Melt 2 tbsp. of unsalted butter over medium-low heat. I recommend working with a non-stick pan, especially because the crust contains raw sugar and will easily stick and caramelize.
Step 12
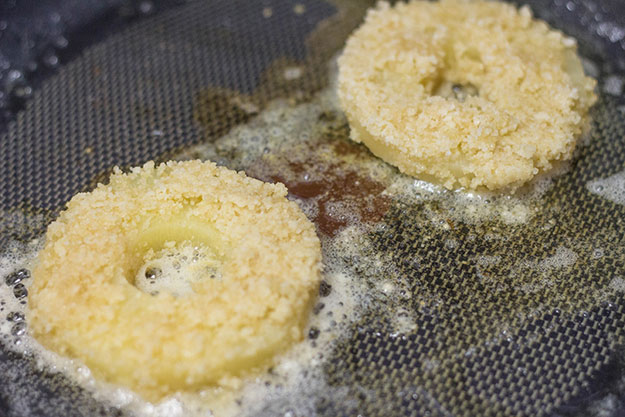
Once the butter has fully melted, gently place the pineapple doughnuts onto the pan. The butter should bubble and sizzle around the edges. When the sizzling starts to die down, carefully flip the doughnut over and cook for another half a minute or so. Remove the doughnuts from heat and plate. The crust should be golden-brown on both sides.
You may need to place another 2 Tbsp. of unsalted butter into the pan to cook all of your doughnuts, as I did. I added the additional butter after I finished the first 3 doughnuts.
Step 13
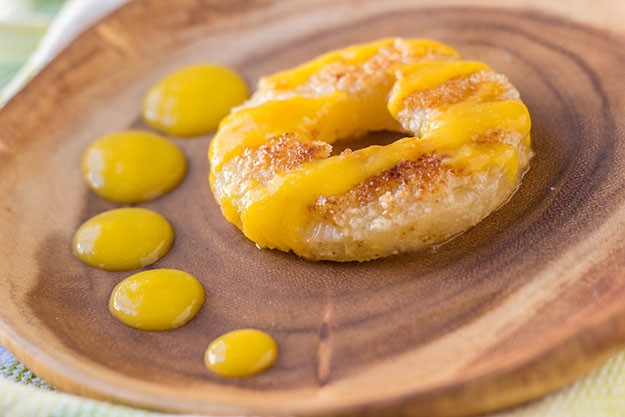
Retrieve the mango puree that you set aside in the fridge. You can either drizzle the puree over the doughnut or place the puree on the side; as you can see in the picture, I did both! I recommend placing the puree to the side, however, as this will maintain the crispness of the macadamia nut crust. Serve immediately.
The tangy, sharp sweetness of the pineapple is well-tempered with the ripe, mellow taste of the mango puree. And the butter-toasted macadamia nut crust is insanely good; not only does it add variety to the mouthfeel of the doughnut, but it also tastes like macadamia nut brittle! All of the flavors merge together in one awesome tropical extravaganza; the only thing that could make it better is eating it on the beach while watching the sunset. A friend (and fellow taste tester) described the taste as “the definition of tropical sunshine.” I hope that once you give it a try, you’ll feel the same way!
Other Recipes By Kris Wu:
Don’t forget to keep in touch, foodies!
Sign up for our daily newsletter here!
Have Instagram? Don’t forget to follow @HomemadeRecipesOfficial.
Click here to Like Us on Facebook.
Click here to Follow Homemade Recipes on Pinterest
[…] You NEED To Try This Pineapple “Doughnut”! […]