

Who can say no to the sugar-coated goodness of those Starbucks cake pops? After learning this recipe, you surely can! This yummy recipe can keep your sweet tooth’s cravings at bay for it is irresistibly to die for.
If you’re ready to go popping and dancing in heaven, let’s go get you those amazing pops.
How To Make Cake Pops Like Starbucks | Recipe

Supplies Needed To Bake Better Than Starbucks Cake Pops:
- 1 stick of softened butter
- 3 cups of sugar
- 2 eggs
- 1 tsp of vanilla extract
- 4 cups of plain flour
- 1 cup of milk
- Food coloring gel in pink
- Icing
- Sprinkles
- Styrofoam block
- Baking pan
- Electric mixer or wooden spoon
- Mixing bowl
- Caramel apple sticks
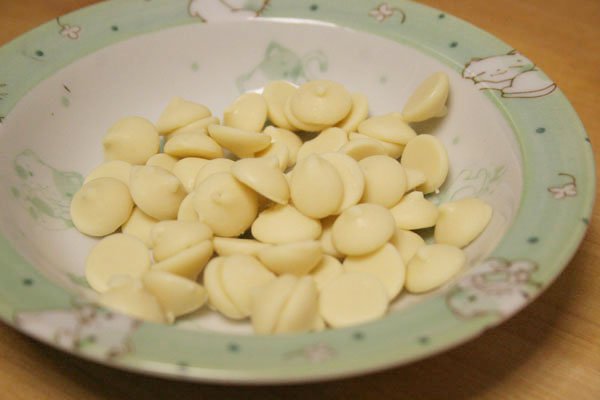
- 1 bag white chocolate chips
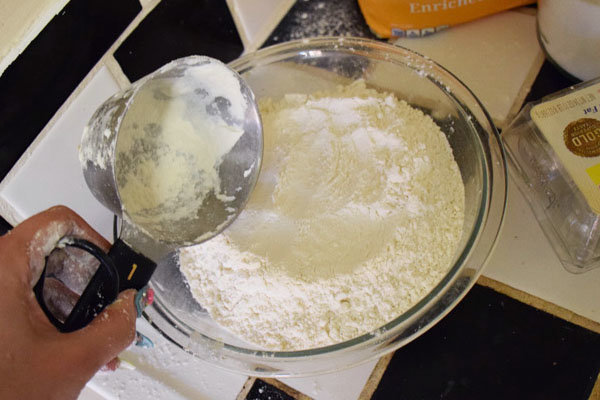
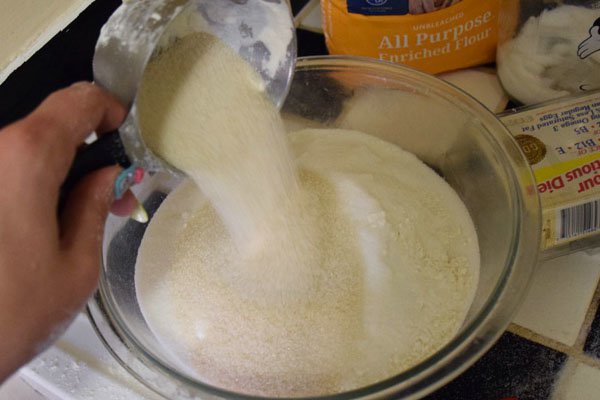
Step 1: Mix Sugar and Flour
Preheat your oven to 350 degrees and then get your materials out for cooking! Add 3 cups of sugar and 4 cups of flour to your large mixing bowl. Use your mixer or spoon to slowly stir up the foundation of the cake.
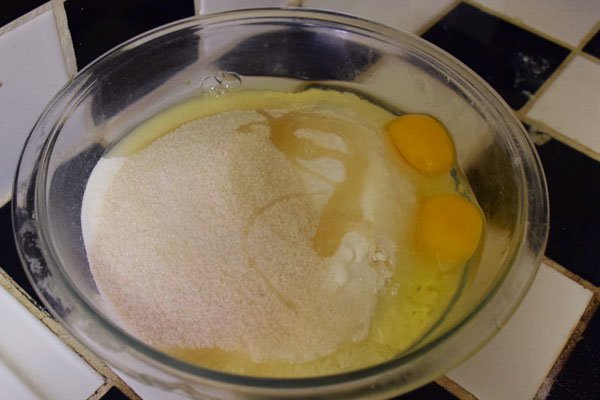
Step 2: Add Eggs And Butter
Add each egg one at a time, then your stick of butter. Mix together gently to avoid mix going everywhere (trust me on this one). Just pulled your butter from the fridge? Transfer butter to a microwave safe container and nuke for 20-30 seconds.

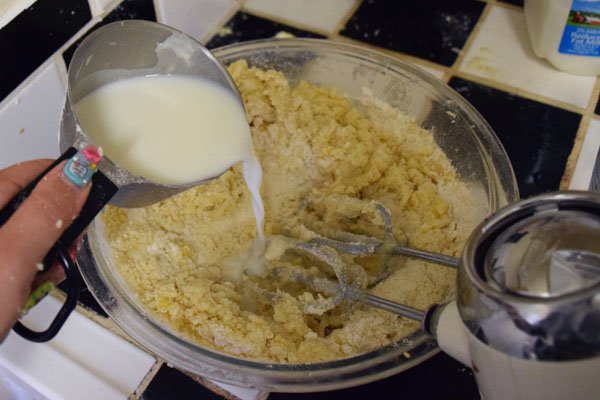
Step 3: Mix In Vanilla Extract And Milk
Milk and Vanilla will help give our cake flavor and texture. Mix in slowly to avoid any spilling.

Step 4: Bake Batter
Cake pop's don't become cake pops till after fully baked. Pour batter into a lipped baking dish and cook for 25-35 minutes or until the cake is completely cooked though. Just pop a toothpick in him if you aren't sure, it should come out clean with just hint of moisture.

Step 5: Form Cake Pops
Once cake has been removed and completely cooled, it's time to get messy! Break up the cake into small pieces, place in a small bowl for organization's sake.
Next, take a small amount of your frosting or icing (either can or homemade, it's up to you!) and roll the frosting and cake together in your hands to form small balls. After this step, I found to helpful to pop the cake pops in the fridge for about 10 minutes to help them keep their shape.

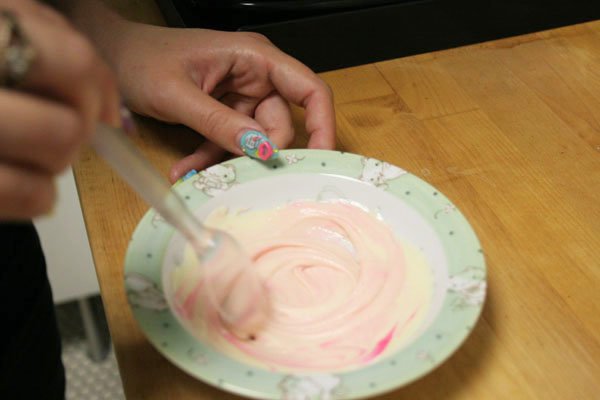
Step 6: Mix Up Cake Pop Coating
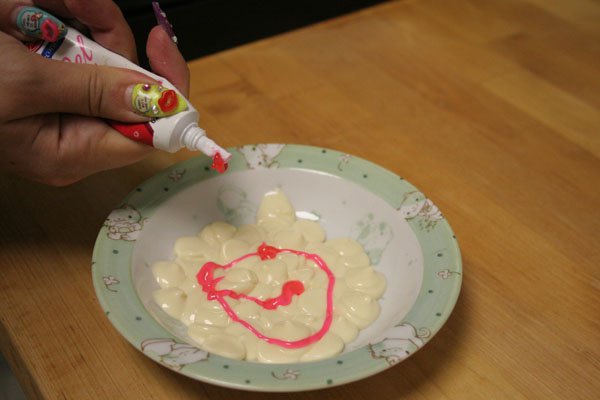
Pour some white chocolate chip pieces into a microwave safe bowl and nuke for 30 seconds. Mix in a small amount of food coloring gel until light pink. If your mixture suddenly turns into a paste, you have added too much food coloring and you should start over – not that I know from experience or anything.
Total aside, anybody want some free colored paste?
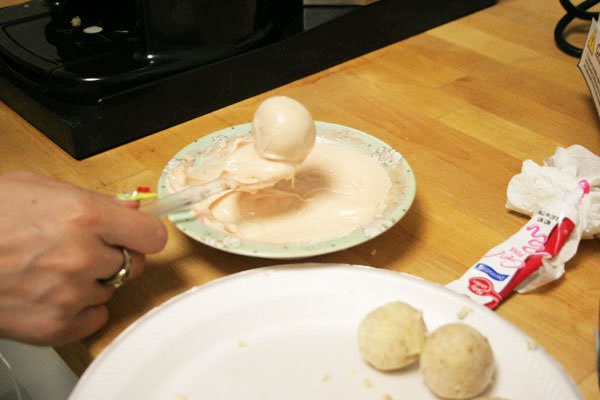
Step 7: Coat Cake Pops
Dip your cake pops into the melted white chocolate, using a spoon or spatula to help coat the cake pops. It's kinda like giving your cake pops a pink chocolate bath (I could totally go for one of those right about now!). Once your cake pops are perfectly pink, use a spoon to help brace your pop for the caramel apple stick.

Step 8: Sprinkle & Display Cake Pops
Once cake pops are good and frosted, insert caramel apple sticks through them and use a Styrofoam block to display and transport your goodies. I added a drop more of the white chocolate coating on top and smoothed out with my spoon before applying the white sprinkles. Pop the cake pops in the fridge once more for 10 minutes to seal the deal, then you are ready to party with these better than Starbucks cake pops!
That’s all folks. Did you enjoy our homemade Starbucks Cake Pops ? Let us know in the comments section below what you thought of our homemade Starbucks Cake Pops . Do you have a favorite homemade Starbucks Cake Pops that’s been in your family for ages? Share it with us and we’ll give it a shot. We love making quick and easy recipes that you can make right from the comfort of your home. Hence the reason we started Homemade Recipes.com We want to share our love of cooking with the you! We need your help in creating a community of foodies where you can come and share your recipes and expect the best homemade food prepared by our team of expert chefs and food connoisseurs. Do you want to write for Homemade Recipes? Shoot us an e mail and make sure to stay in touch on Facebook, Twitter, and Pinterest!
Do you have Instagram? Don’t forget to @HomemadeRecipesOfficial.
Click here to Like Us on Facebook.
Click here to Follow Homemade Recipes on Pinterest