An activated charcoal mask is good for your skin. It's no secret that a lot of people love it! What's not to love, right?
Charcoal face masks offer detoxifying effects that will leave your skin feeling clearer and brighter. Learn a simple charcoal face mask recipe here!
RELATED: 11 Face Mask Recipes You Can Eat
DIY Activated Charcoal Mask Recipe for a Brighter Face
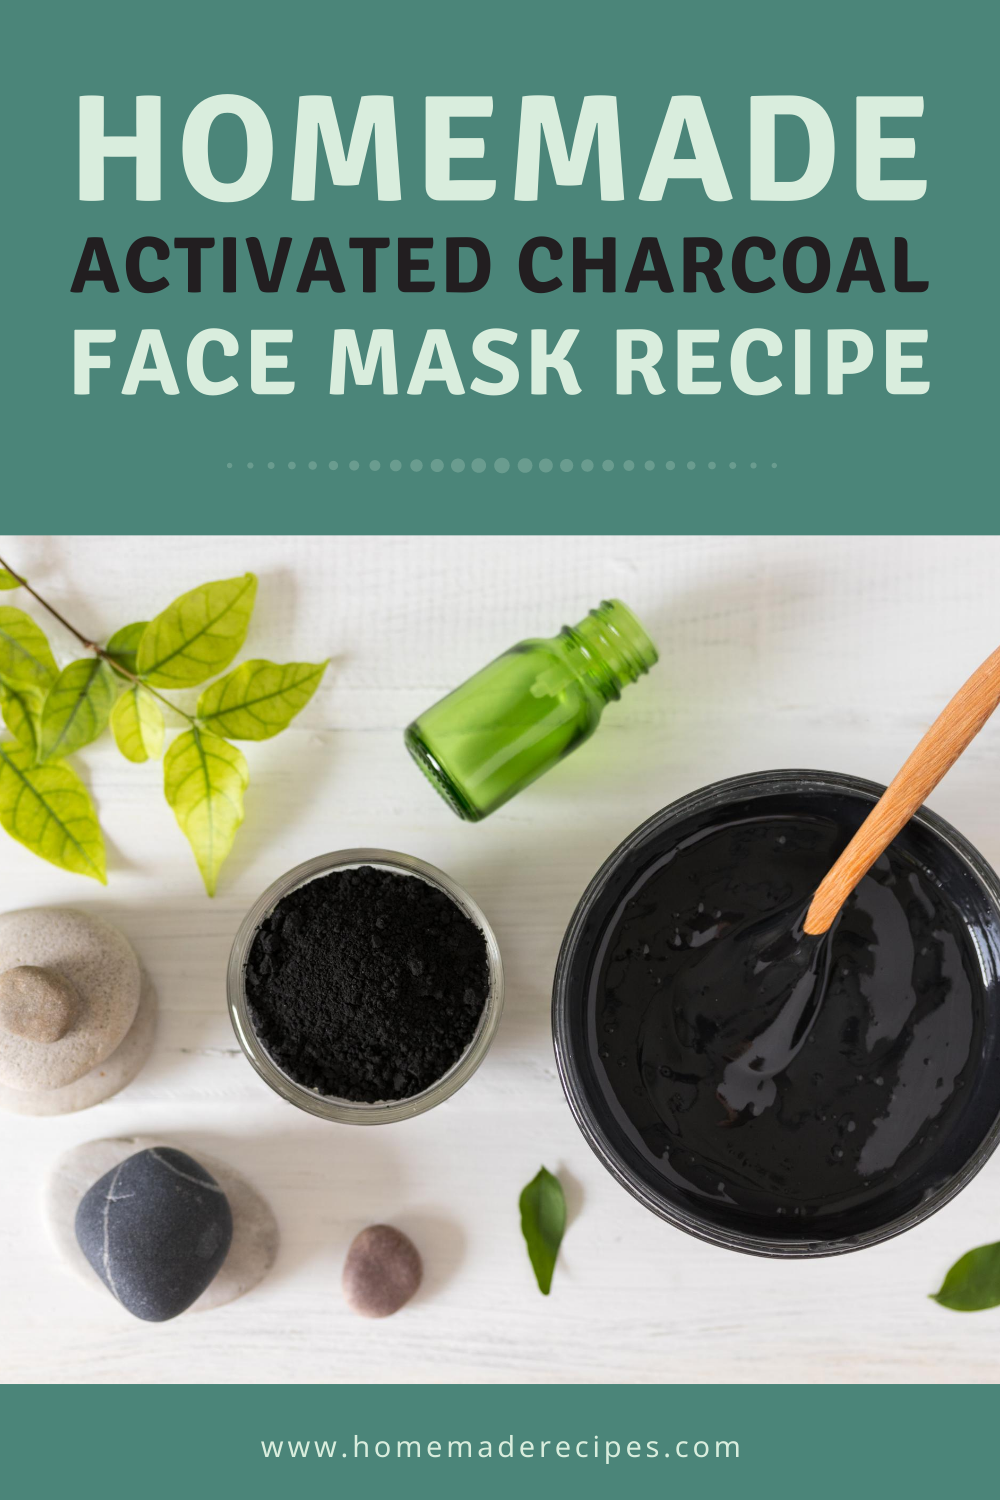
How to Make a Homemade Charcoal Face Mask
Ingredients:
- 3 tbsp. distilled water or witch hazel, or a combination of both
- 3 tbsp. bentonite clay
- 1 tsp. activated charcoal powder
- 20 drops of essential oil of your choice (optional)
Step 1: Mix the Water and Essential Oil
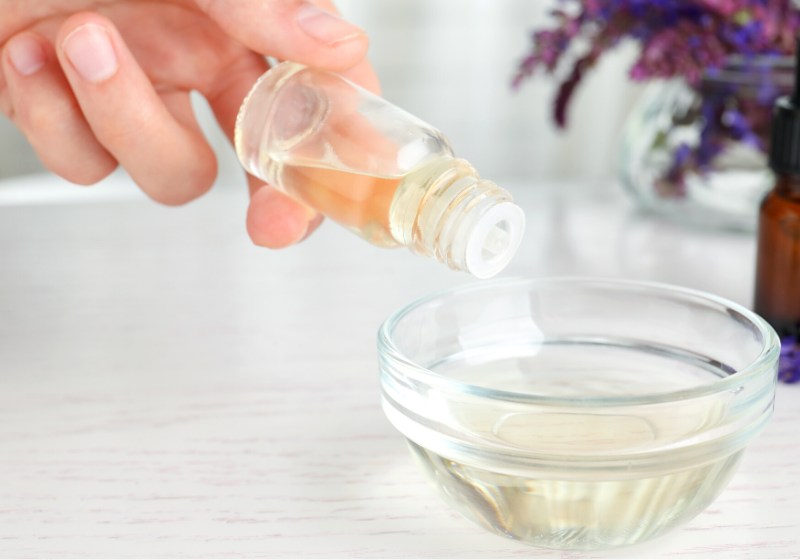
When using the combination of water and witch hazel, mix it first before adding the essential oil. While incorporating essential oils for this charcoal mask recipe is completely optional, it's best if you still opt to put some.
For example, infusing lemon oil in the mask mixture may help in reducing the appearance of wrinkles. Sandalwood, on the other hand, can help in moisturizing the skin.
Step 2: Combine the Water and Oil Mixture With the Bentonite Clay and Charcoal Powder
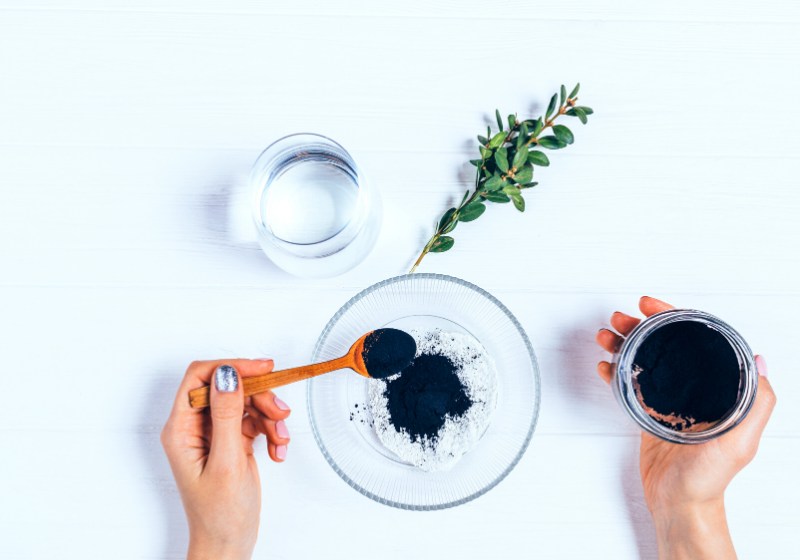
Allow the bentonite clay to absorb before mixing them well together. During this step, use a wooden or plastic spatula in combining the ingredients.
It'll be easier to mash the remaining lump of the bentonite clay and scrape off the sides of the bowl.
Step 3: Combine All the Ingredients Well
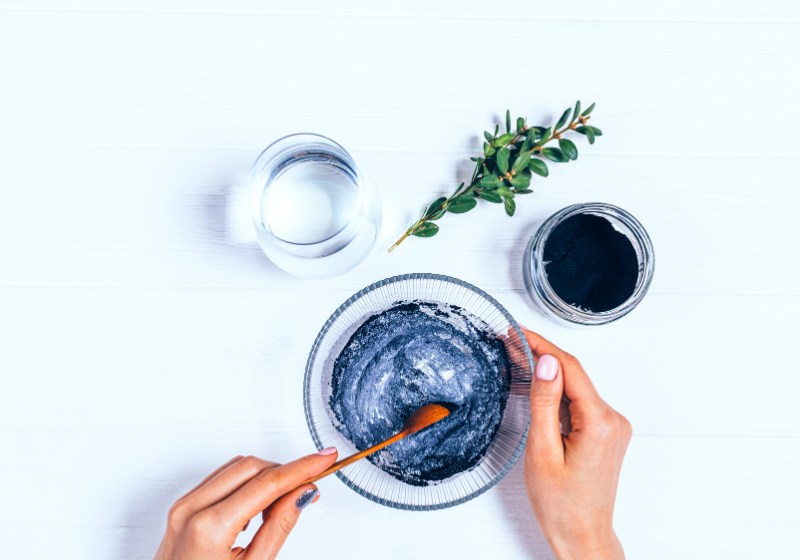
The consistency of your charcoal mask might get sticky at some point, but that's nothing to worry about. Continue mixing all the ingredients until it forms a paste. You can add the mixture into a tube for storage and for easier use.
RELATED: Natural Homemade Dry Shampoo For Light And Dark Hair
How to Apply Activated Charcoal Mask
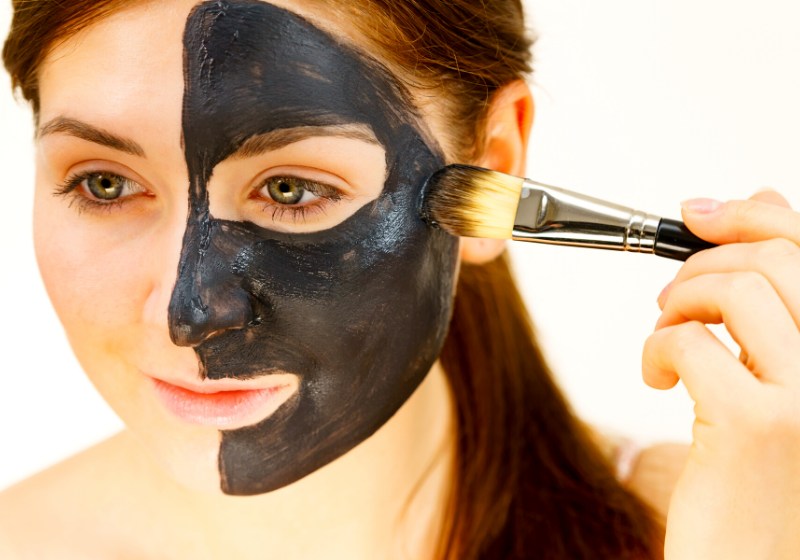
To achieve the best results, make sure to cleanse your skin before applying this homemade mask. Once done, you can use your fingertips to apply the charcoal mask to your face.
You can start along your T-zone then gently make your way to your cheeks. If you don't want your hands to get dirty, there are soft-bristled brushes that you can use.
In applying the mask, be careful once you get near the mouth and eye area. Keep the charcoal mask for about 15 to 20 minutes. During this time you might feel the mask tighten on your face (like cement).
Don't be scared, it's normal. One helpful tip, don't laugh otherwise you'll regret it. Rinse the mask with warm water and apply your favorite moisturizer!
What Are the Benefits of Charcoal Mask?
- Prevents acne. Clogged pores and the accumulation of bacteria can often lead to breakouts. Activated charcoal masks can help in removing the bacteria in your pores.
- Absorbs excess oil. Having oily skin is usually caused by the overproduction of sebum. Thankfully, charcoal helps remove those oil toxins, making your skin smoother.
What Mask Safety Tips to Keep in Mind
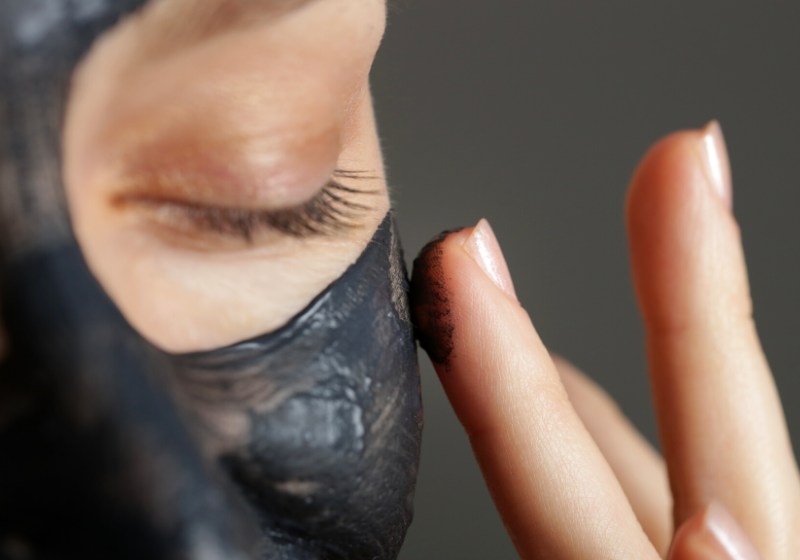
Yes, masks offer good results to your face. But like they said, ‘too much of everything hurts.' It's advisable that you use this charcoal mask (or any type of face mask for that matter) only once or twice a week.
Anything more than that might dry up your skin or irritate it. When using face masks, be cautious about any type of allergic reaction.
Even if the ingredients are all-natural, there's still a possibility that your skin might be sensitive to some of the ingredients. If you feel any itching or burning sensation, stop using the charcoal face mask.
If the redness or swelling persists even after you've stopped using it, consult your local dermatologist.
Watch this video by Doctor ER to know more about the pros and cons of using activated charcoal:
Research shows that charcoal is used in most skincare products because of its ability to absorb impurities and dead skin. It also helps clear up clogged pores and makes your skin smoother.
In the end, a charcoal mask is a way to go if you're up for some natural skin care remedy. This recipe is easy and definitely worth trying!
Do you have your own charcoal mask recipe? Share it with us in the comments section below!
Up Next:
- Easy DIY Bath Bombs Recipe *NOW with Tips & Tricks*
- DIY Homemade Mouthwash Recipe
- 9 Ramen Upgrades To Live Your Best Instant Ramen Life
Don’t forget to keep in touch, foodies! You can also WRITE FOR US and share your delectable recipes!
Also, make sure to follow us on Facebook, Instagram, Pinterest, and Twitter!
Editor’s Note – This post was originally published on August 6, 2020, and has been updated for quality and relevancy.
Leave a Reply