When it comes to baking, there is no task that isn’t enjoyable. Everything from making the batter to decorating the cupcakes is fun and exciting! But for those new to the baking scene, decorating cupcakes and cakes can be intimidating and seemingly impossible. If you’re a decorating beginner or just need a refresher course on how to choose and use pastry bags, this is the course for you!
How to Choose and Use Pastry Bags
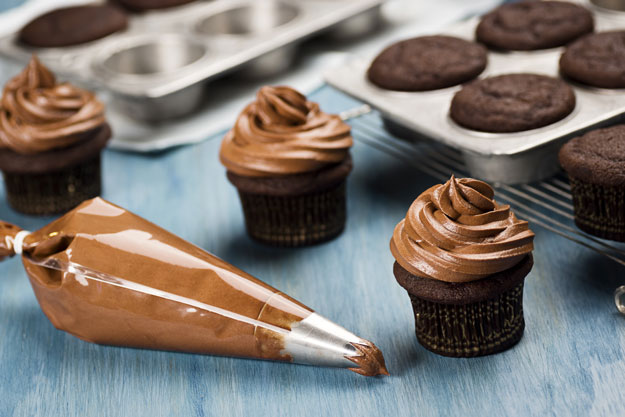
How to Assemble a Pastry Bag
Alright, let’s get down to brass tacks and go over the parts that make up a pastry (aka piping) bag.
Pastry Bags
Pastry bags are conical-shaped, hand-held bags that come in various materials. In regards to the materials used, you can find disposable plastic bags and reusable canvas ones. We, personally, like using canvas bags as they reduce waste, are easier to grip, and feel more official! If you want to try the disposable pastry bags first, Target sells an awesome Cupcake Decorating Kit that comes with bags, tips and coupler bases.
Coupler Base and Coupler Ring
These two guys help hold your bag and decorating tip together. The coupler base fits inside the bag right before you slip on the decorating tip, and the coupler ring fits on the outside of the bag, securing the tip and base together.
Decorating Tips
Decorating tips are usually made out of stainless steel, but can be found in plastic form. We prefer stainless steel decorating tips as they last longer and are easier to clean. There are a multitude of decorating tips, each with its own style and flair. We’ll go over the most commonly used ones soon! Keep on reading!
Assembling a Pastry Bag
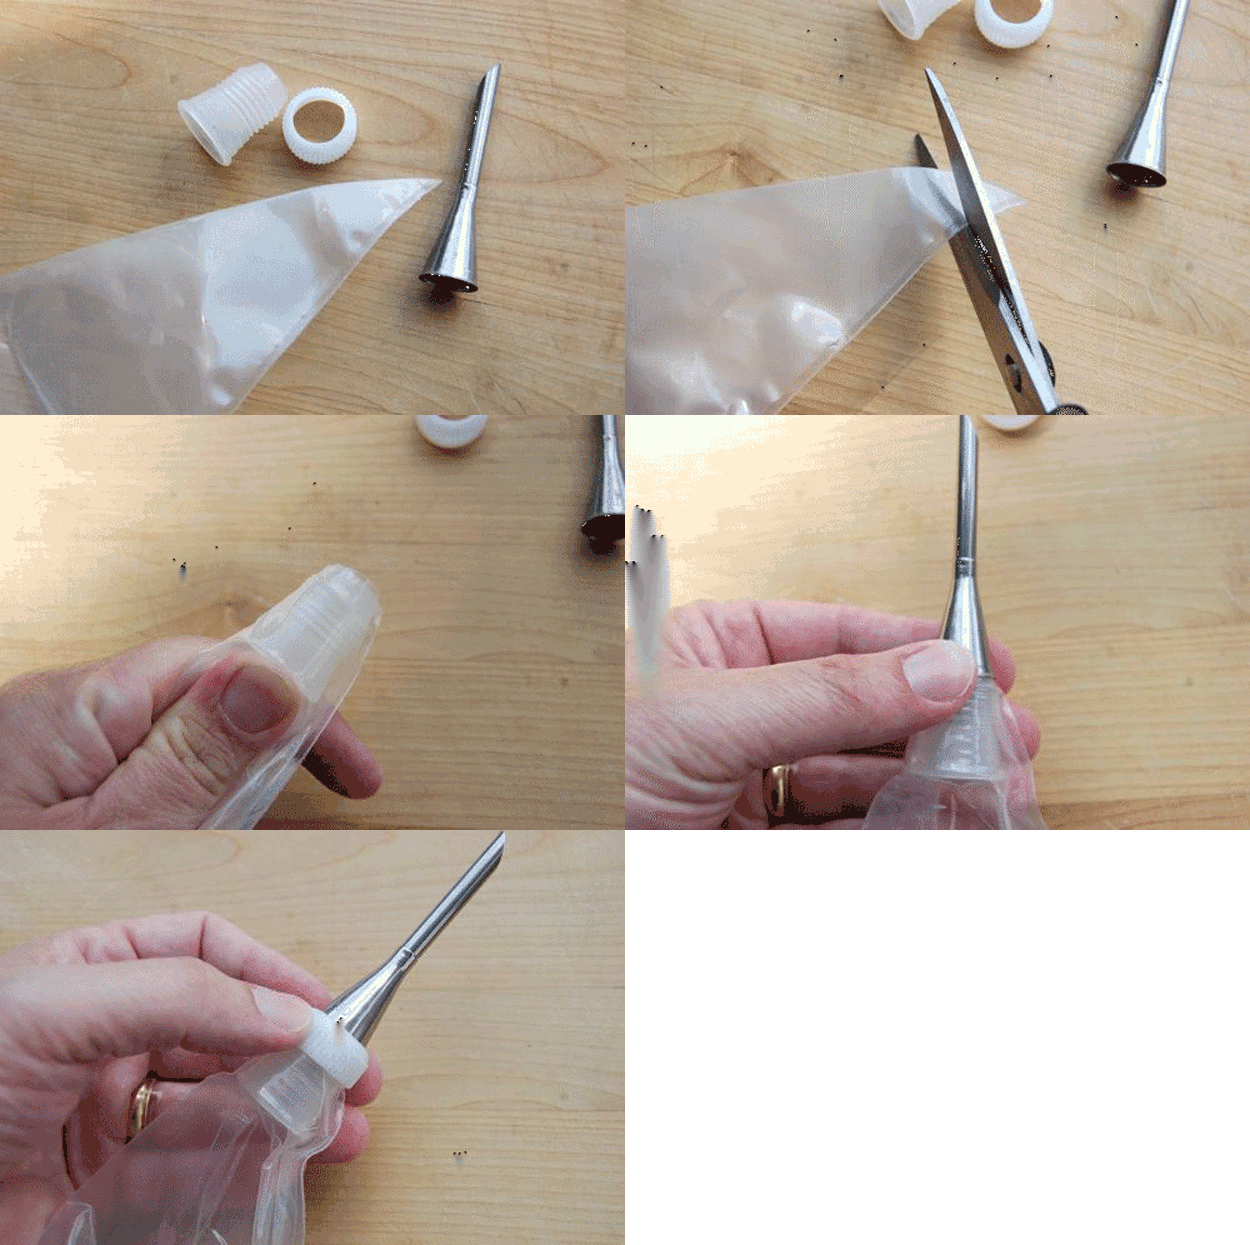
images via
1. Separate the coupler (base and ring) and drop the base into your pastry bag. Force it down as far as it will go.
2. With a pencil or marker, mark a line on the outside of the pastry bag half way between the narrow end coupler and the first thread of the coupler. Remove the coupler base from the bag and cut the bag at the mark. You should be left with a small opening at the end of the bag.
3. After you’ve made your cut, re-insert the coupler base into the bag and push it down again as far as it can go (be gentle!). One or two coupler threads should be peeping out through the hole you made.
4. Choose your decorating tip and fit it over the cut end of your pastry bag. Once you have done so, grab your coupler ring and fit that over your decorating tip to secure it to the bag and coupler base. Make sure the tip is straight and tight.
5. To change tips, unscrew the coupler ring, swap out the decorating tips, then screw the coupler ring back on.
Et voila! You have your pastry bag!
Decorating Tips
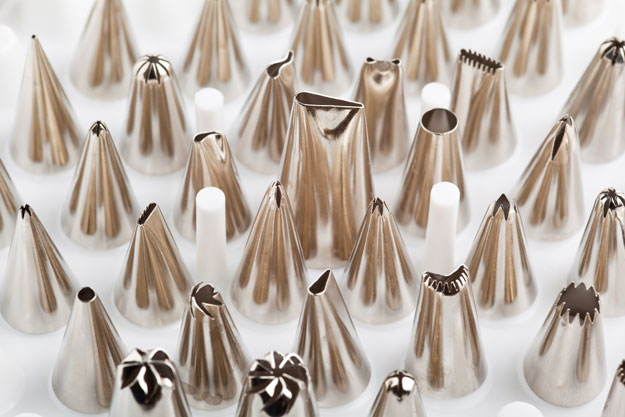
Decorating tips are small metal cones whose ends are shaped to produce various designs. The size and shape of the tip’s opening identifies the family to which the tip belongs (something we’ll get to here in a bit) and determines the types of decorations the tip will produce. Each tip comes with a number stamped on it (something you don’t need to worry about until you’ve become a decorating pro). Alright, now let’s get to it!
Round Tips
These kinds of tips are used for outlining details, filling and piping in areas, writing and printing messages, dots, balls, beads, lattice and lacework, vines, flower centers and floral details.
Leaf Tips
Leaf tips are used to perfect floral enhancements. The V-shaped opening of these tips produce various leaf shapes such as plain, ruffled or stand-up leaves.
Drop Flower Tips
With these tips, one squeeze produces a beautiful little flower, which is why these tips are perfect for those just getting into cake decorating. The number of cuts on the end of the tip will determine the number of petals your flower will have.
Ruffle Tips
Ruffle tips have are shaped like a teardrop and produce ribbons, bows, streamers, scallops, ruffles and other special effects.
Basketweave Tips
Basketweave tips are great for designs that look like, yup, you guessed it – a woven basket. These tips can either have a smooth side for making wide icing stripes, a serrated side for ribbed icing stripes, or both!
Rose Tips
Rose tips have an opening that is wide at one end and narrow at the other. With these decorating tips, you can make a variety of different flowers such as carnations, roses, daisies, pansies, and more.
Star Tips
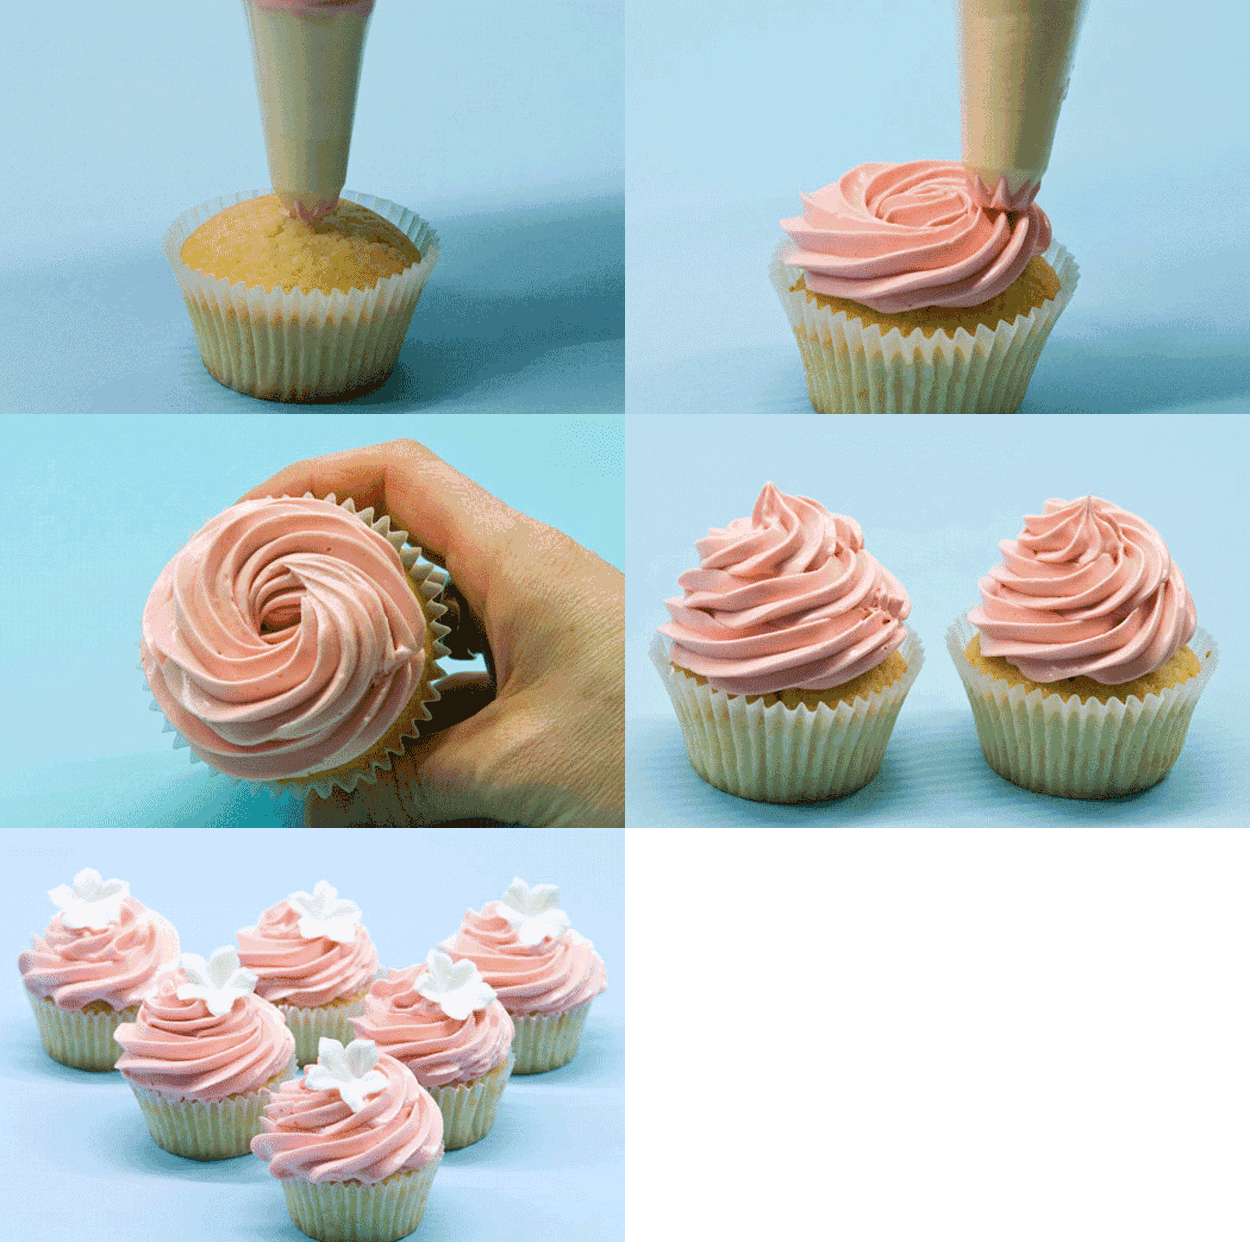
Star tips are the most popular tips due to the designs they can produce – deeply-grooved stars, shells, rosettes or flowers.
Multi-Opening Tips
Probably not the best tip to use if you’re a beginner (unless you’re a daring and adventurous one!), these tips are used to make a variety of designs such as strings, beads, scallops, grass, etc.
How to Use a Pastry Bag – Filling, Closing and Holding
Filling and Closing Your Pastry Bag
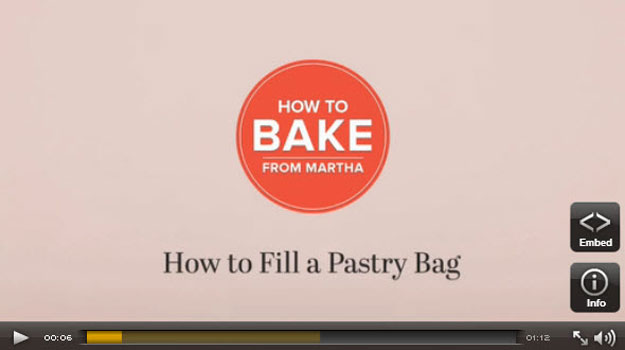
Watch how Martha Stewart fills a pastry bag above.
Okay, so you’ve chosen your decorating tip and have your pastry bag at the ready, now what? Well, let’s get to filling it!
1. Holding your pastry bag with one hand, fold down the top half of the bag to create a generous cuff over the hand currently holding the pastry bag. (Tip: If you have a 16 oz. glass at home, you can use the glass as a guide for folding your cuff by dropping your pastry bag into the glass and folding the bag over its edge.)
2. Using an angled plastic spatula, scoop your frosting into the bag until it’s halfway filled. (Major Don’t: Don’t overfill your bag as excess icing may ooze out of the wrong end in the middle of your decorating, resulting in a MAJOR cake decorating fail.)
3. Once your bag is filled at the halfway mark, unfold the cuff and twist the bag closed. Twisting your bag forces the icing down into the tip and helps push out excess air that could lead to unwanted icing bubbles. (Major Do: “Burp” your bag by squeezing some of the icing out of the tip into a bowl. This will release trapped, excess air.)
4. Get ready to decorate those baked goods!
Holding Your Pastry Bag
Holding and using a pastry bag is a lot like holding a calligraphy pen. But, for those who have never held a calligraphy pen, here is the proper way to hold a pastry bag:
1. One-Handed Holding: if only using one hand, make sure it’s your dominant one and hold the pastry bag upright. As you’re decorating, keep the pastry bag upright at an angle smack dab between 45 and 90 degrees. Also, make sure the hand you’re using to hold the bag is kept straight and in same direction whilst decorating.
2. Two-Handed Holding: hold the pastry bag with your dominant hand and position the fingertips of your non-dominant one on the middle of the bag or near the tip. Your fingertips will serve as the decorating tip’s guide as the palm of your dominant hand gently squeezes out the icing. (Tip: never hold the pastry bag with your entire non-dominant hand. Make sure only your fingertips are guiding the decorating tip as the heat from your hand will melt the icing inside, resulting in a watery, droopy mess.)
When squeezing your pastry bag, be sure that the majority of the pressure used comes from your palm instead of your fingertips. This will ensure that even pressure is being applied to the pastry bag.
Also, as you’re piping and decorating, frequently retwist your bag in order to keep it tight around the icing. If not, the pastry bag will be difficult to hold and control.
Sweet, now that you know how to assemble, fill and hold a pastry bag, the next step is decorating that (cup)cake! Master baker, Steve Rossen, has put together this amazing comprehensive course on cake decorating. Watch the full course here!
With these resources, you’ll be decorating baked goods like a pro in no time!
That’s all, folks! We hope this post was informative and a resource you can refer back to as you delve deeper into cake decorating. If you enjoyed this post, please let us know in our Comments section below! We love hearing our readers’ feedback, comments and suggestions. If you have some more decorating tips and tricks, we would love to hear them! Leave a comment, shoot us an email and make sure to stay in touch on Facebook, Twitter and Pinterest!
Do you have Instagram? Don’t forget to follow @HomemadeRecipesOfficial.
Click here to Like Us on Facebook.
Click here to Follow Homemade Recipes on Pinterest.



Leave a Reply