Fast Facts: Honey Garlic Chicken Thighs
- Honey garlic chicken thighs come together in 15 minutes with one pan and pantry staples.
- This is a 15 minute chicken dinner built around bone-in, skin-on dark meat that forgives small timing mistakes.
- The honey garlic glaze uses pantry staples: honey, soy sauce, garlic, and ginger.
- Searing skin-side down builds the crust before the baked chicken thighs finish in a hot oven.
- Internal temp of 165°F at the thickest part of the thigh, away from the bone, means the chicken is done.
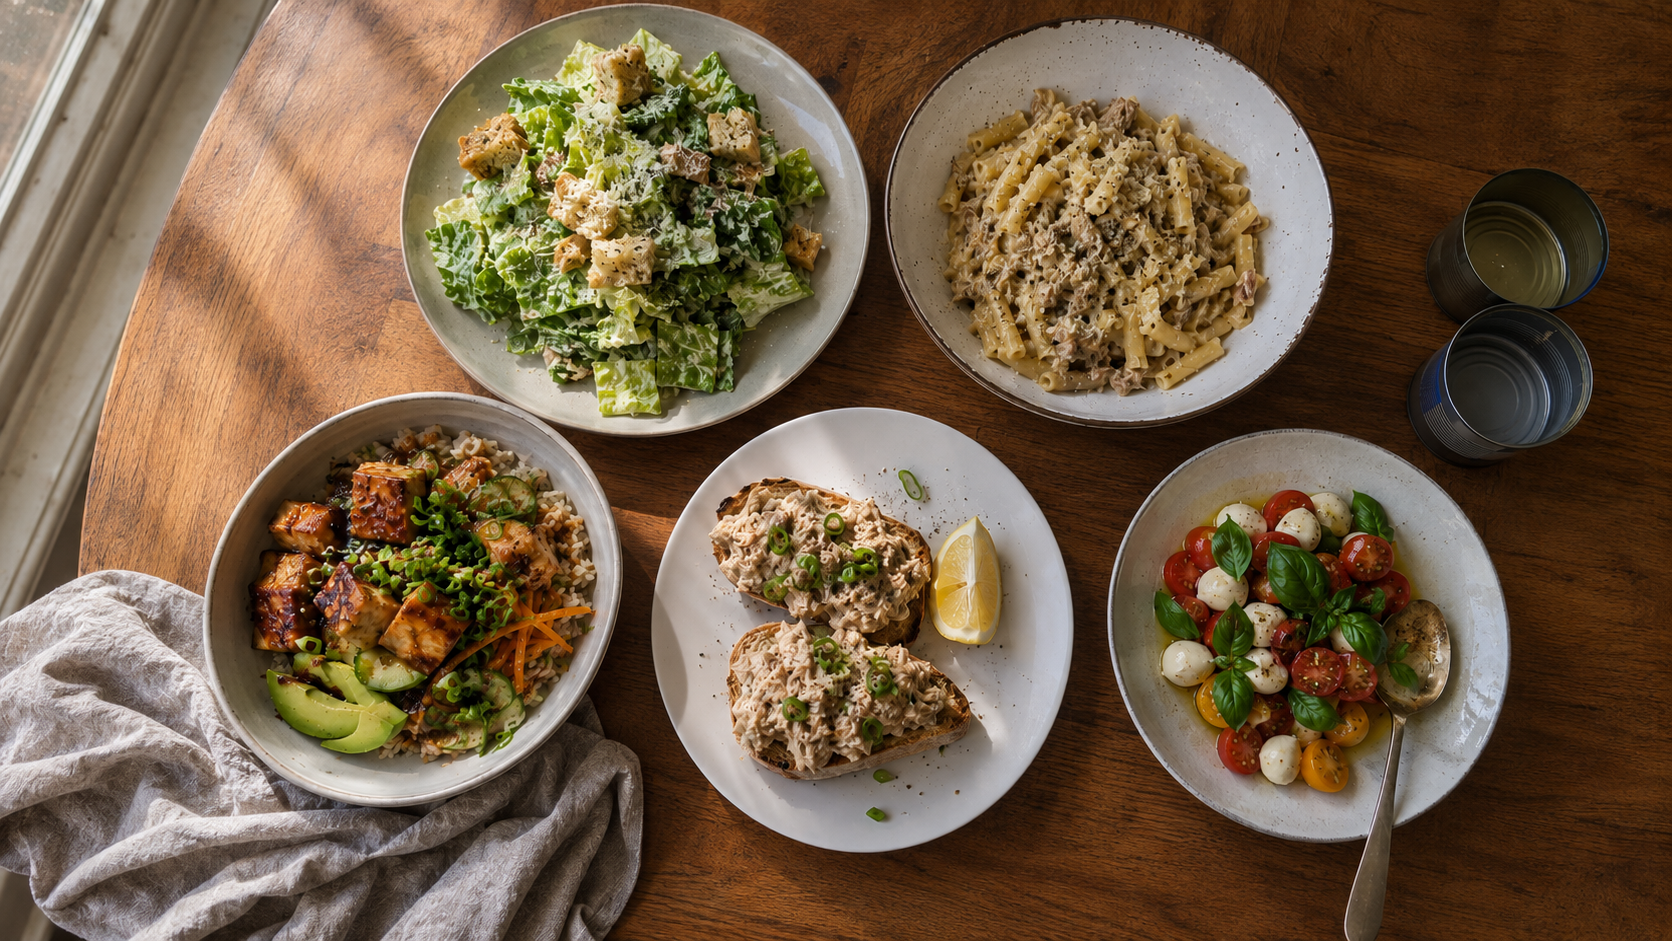
- This weeknight chicken recipe doubles cleanly for meal prep without changing the cook time.
- A printable version of the recipe is linked further down so the method stays handy.
Dry chicken breast is the reason a lot of weeknight cooks have given up on chicken altogether. Honey garlic chicken thighs solve that problem on a Tuesday with one pan and about 15 minutes of actual work.
This is a weeknight chicken recipe built for the five o'clock moment, not the Sunday afternoon daydream. Dark meat is forgiving. The fat content keeps the meat juicy even when the timing slips by a minute or two. The honey garlic glaze comes together from staples already in the pantry: honey, soy sauce, garlic, ginger, and a splash of vinegar. There's no grocery run before dinner.
Sear the skin down on the stovetop, glaze, and let the oven finish it. One skillet in the sink at the end. Dinner on the table before the kids start asking what's taking so long. That's the entire pitch for one pan chicken thighs done right.
Why Honey Garlic Chicken Thighs Work
Dark Meat Carries the Dish
Chicken thighs have more intramuscular fat and connective tissue than breast meat. That fat keeps the meat moist through the full cook window. Pull a breast 30 seconds late and it's chalky. Pull a thigh 90 seconds late and it's still juicy. For weeknight cooking, that margin is the whole reason honey garlic chicken thighs work where breast-based recipes fail.
Skin-Side Sear Builds the Crust
Patting the thighs dry with paper towels removes surface moisture. Surface moisture is what stops chicken skin from browning, because the heat goes into evaporating water instead of crisping the skin. Dry skin in a hot pan with oil produces the golden, crackly crust that the honey garlic glaze sticks to in the oven.
The Glaze Caramelizes in the Oven
Honey hits its caramelization point well below 425°F. When the glazed thighs go into a hot oven, the sugar in the honey browns and concentrates against the chicken skin. That's where the deep, sticky finish on baked chicken thighs comes from. Soy sauce adds salt and umami. Vinegar at the back end keeps the honey garlic glaze from going one-note sweet.
One Pan, No Extras
Stovetop sear, oven finish, same skillet for both. There's no second pot, no separate burner for a reduction, no transfer to a baking dish. One pan chicken thighs done correctly means one skillet to wash at the end of the meal.

Ingredients for Honey Garlic Chicken Thighs
- 6 to 8 bone-in, skin-on chicken thighs (about 2 to 2.5 lbs)
- 1/4 cup honey
- 1/4 cup soy sauce (use tamari or coconut aminos for gluten-free)
- 6 cloves garlic, minced (or 2 tbsp jarred minced garlic)
- 1 tbsp rice vinegar (apple cider vinegar works in a pinch)
- 1 tbsp grated fresh ginger (or 1 tsp ground ginger)
- 1 tbsp olive oil
- 1/2 tsp red pepper flakes (optional. Sub a small squeeze of sriracha)
- Salt and black pepper, to taste
- 2 tbsp sliced green onions, for garnish
- 1 tbsp sesame seeds, for garnish (optional)
Tools That Make This Recipe Easier
The skillet matters here. A heavy oven-safe pan holds heat steadily through the sear and the bake without warping. Cast iron is the most reliable choice for the price, especially for one pan chicken thighs that need to move from stovetop to oven without missing a beat.
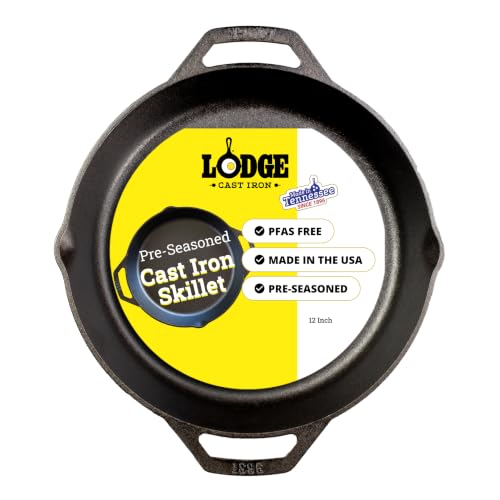
- Secure Dual Assist Handle: The Lodge Seasoned Cast Iron Dual Handle Pan features dual assist handles for...
- Time-Tested Even Heat Distribution: This durable cast iron cookware supports uniform cooking, helping...
Last update on 2026-07-13 / Affiliate links / Images from Amazon Product Advertising API
(As an Amazon Associate, we earn from qualifying purchases.)
A meat thermometer takes the guesswork out of the doneness call on baked chicken thighs. Pull at 165°F and the meat is safe and juicy. Skip the thermometer and the temptation is to overcook, which defeats the whole reason to use thighs.
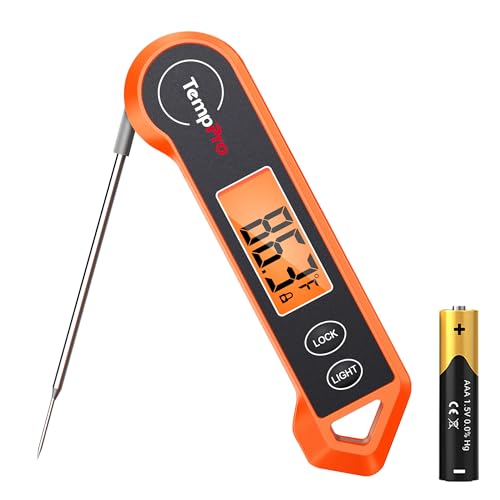
- 2.0 inches large auto-rotating backlit display: Digital food thermometer has a 180° auto-rotating...
- Motion sensing sleep/wake: Directly turns on and off by the probe opens or closes; instantly wakes when...
Last update on 2026-07-13 / Affiliate links / Images from Amazon Product Advertising API
(As an Amazon Associate, we earn from qualifying purchases.)
Full Instructions
Note: Preheat the oven to 425°F before starting Step 1.

Step 1: Prep the chicken (1 minute)
Pat the thighs dry on both sides with paper towels. Dry skin crisps. Wet skin steams. Season generously with salt and pepper on both sides.

Step 2: Mix the honey garlic glaze (1 minute)
In a small bowl, whisk the honey, soy sauce, garlic, rice vinegar, ginger, and red pepper flakes until smooth. Set the bowl beside the stove. The honey garlic glaze should look glossy and a little thin. It thickens in the pan.

Step 3: Sear the thighs (3 minutes)
Heat olive oil in a large oven-safe skillet over medium-high. Cast iron or heavy stainless work best. Once the oil shimmers, lay the thighs skin-side down. Don't crowd the pan. Sear undisturbed for 3 minutes until the skin is golden and crisp. The thighs aren't cooked through yet. The crust is the goal.
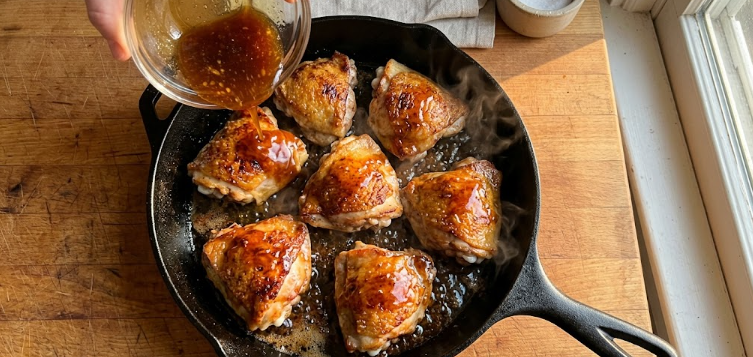
Step 4: Flip and glaze (1 minute)
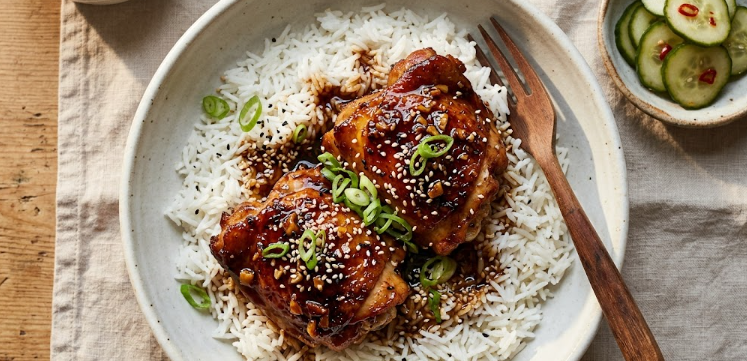
Flip each thigh skin-side up using tongs. Pour the honey garlic glaze over the top, spooning it across each thigh so all the skin gets coated. The glaze sizzles and starts thickening on contact with the hot pan. This is the moment one pan chicken thighs start looking like the photo.

Step 5: Bake (8 minutes)
Transfer the skillet to the preheated oven. Bake the chicken thighs for 8 minutes until the internal temperature reaches 165°F. Check with a meat thermometer at the thickest part of one thigh, away from the bone. If the glaze starts darkening too fast, tent loosely with foil for the final minutes. This is what gives baked chicken thighs that sticky, lacquered finish.

Step 6: Rest and serve (2 minutes)
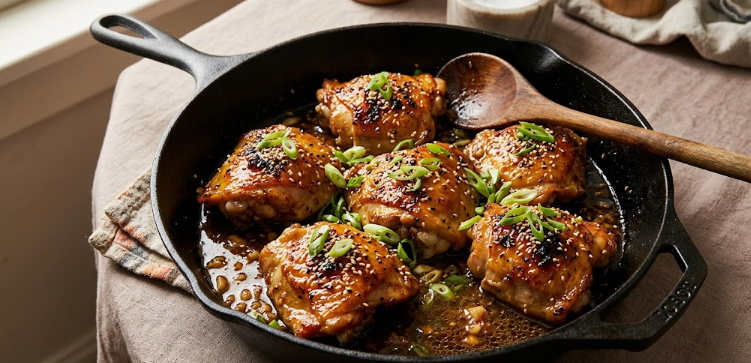
Let the thighs rest in the pan for 2 minutes. Spoon the pan sauce over the top. Garnish with sliced green onions and sesame seeds. Serve over rice, with roasted vegetables, or with a quick cucumber salad on the side.
Total active time: 8 minutes. Total time including bake: 15 minutes.
Variations And Customizations

Meal Prep Version
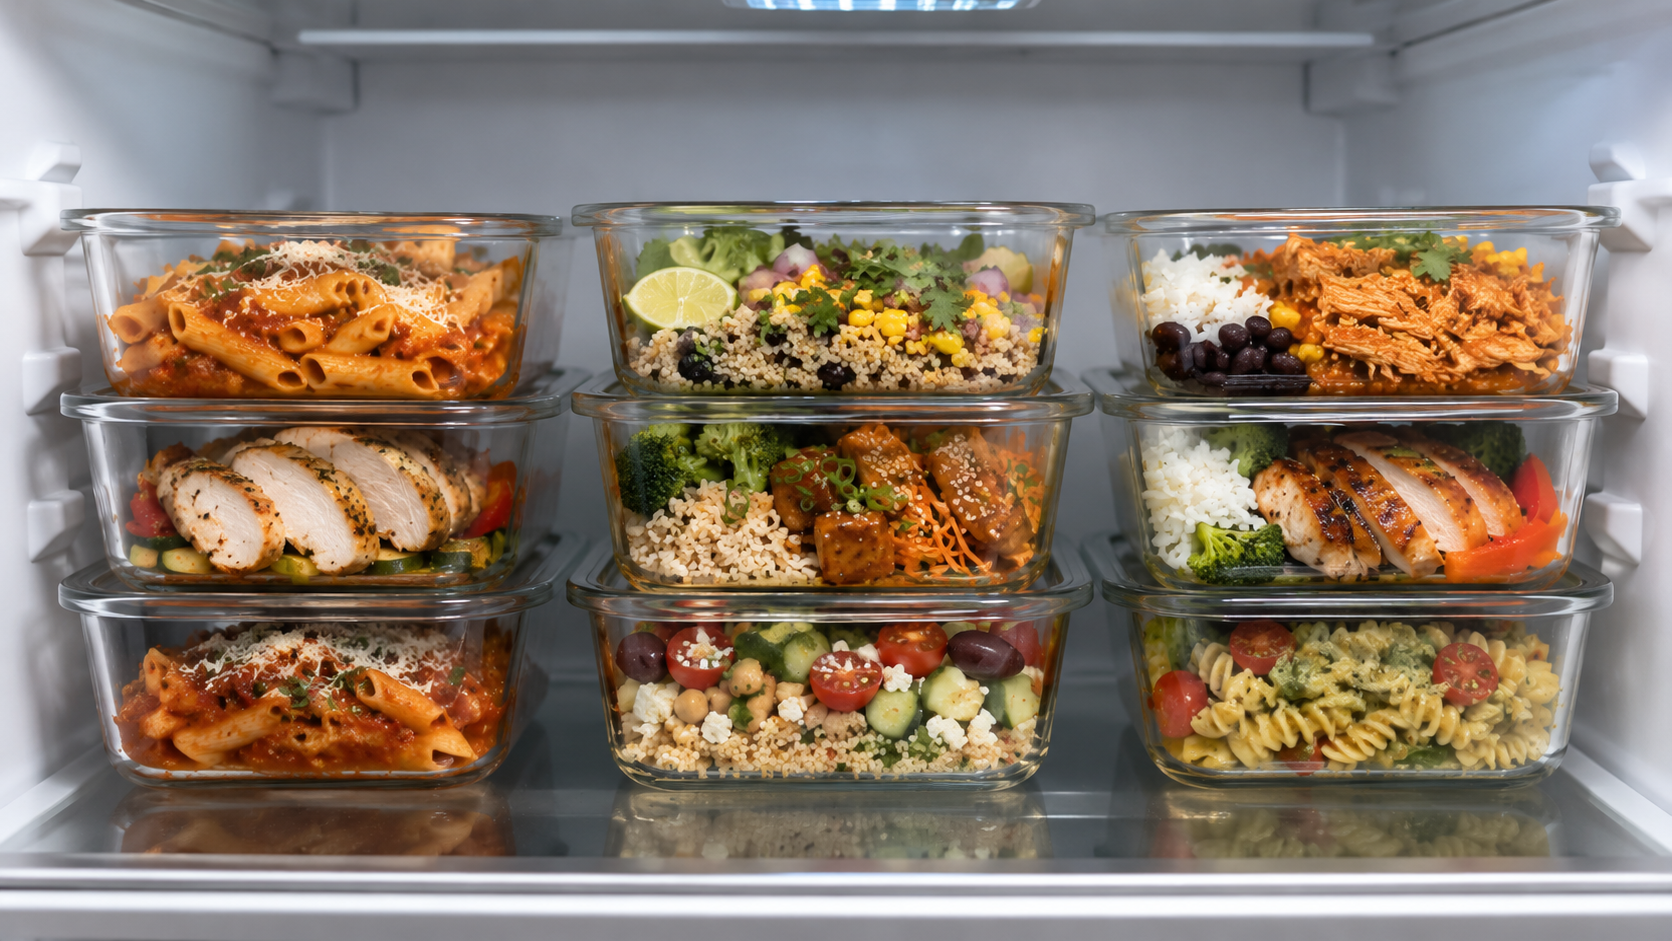
Double the batch of honey garlic chicken thighs. Reheat thighs and glaze in a 350°F oven for 5 to 7 minutes, just until warmed through. Portion with rice and a roasted vegetable for 4 to 5 lunches across the week. The honey garlic glaze improves overnight as the flavors settle.
Portioning works best when the containers seal tight and reheat without staining. Glass holds up better than plastic for the soy-and-honey combination, and the compartments keep the rice from soaking up all the glaze before lunch hits:

- [HOMBERKING 8 PACK 3 COMPARTMENT]HOMBERKING glass containers sets, size: 36 Oz (1060 ml)-4.5 cups...
- [Microwave/Oven & Freezer Safe] Our containers can withstand temperatures from -4℉ to 752℉, you can...
Last update on 2026-07-13 / Affiliate links / Images from Amazon Product Advertising API
(As an Amazon Associate, we earn from qualifying purchases.)

Add Vegetables to the Pan
Halved cherry tomatoes, snap peas, or sliced bell peppers can go into the skillet for the last 5 minutes of the bake. They steam in the glaze and finish with the chicken. This turns a 15 minute chicken dinner into a complete one-pan meal.

Spicier Version
Stir 1 to 2 tbsp of sriracha into the glaze in place of the red pepper flakes. A pinch of Chinese five-spice powder adds depth without changing the technique.

Dairy-Free and Paleo Version
Coconut aminos in place of soy sauce gives the same umami at lower sodium. The rest of the weeknight chicken recipe is already compliant.

Sheet Pan Version
Move everything to a rimmed sheet pan. Add cubed potatoes, broccoli florets, or carrot chunks around the thighs before baking. Cook time stays close to the same. Check vegetables for tenderness in the last few minutes.
The pan has to be heavy enough to handle 425°F without buckling, and the rim has to be tall enough to catch the glaze drippings without spilling them onto the oven floor.

- Naturals bakeware is made of pure aluminum for superior heat conductivity and produces consistently...
- These premium pans are built for lifetime durability, ensuring they will never rust, providing you with...
Last update on 2026-07-13 / Affiliate links / Images from Amazon Product Advertising API
(As an Amazon Associate, we earn from qualifying purchases.)
Save The Recipe For Later
Grab the printable recipe card below. The card fits a standard sheet of paper, includes the ingredient list, the full method, and the swap notes for these honey garlic chicken thighs in one place. Keep it in a kitchen binder, stick it on the fridge, or save it to your phone.
No login required. No email required.
[Download the Printable Recipe Card]

Conclusion
Honey garlic chicken thighs earn their spot in the rotation because they work on the nights that matter most. Not Sunday, when there's time to fuss. Tuesday, when there isn't.
The math is simple. Dark meat that forgives mistakes. A honey garlic glaze built from what's already in the pantry. One skillet from start to finish. Fifteen minutes from heating the oil to plating the chicken. That's the whole pitch for this weeknight chicken recipe.
Cook these baked chicken thighs once and the timing settles into muscle memory. Cook them twice and the family starts asking for them by name. Cook them on a Tuesday in late April when everyone is tired and the week feels long, and the recipe does exactly what it's supposed to do, which is feed people without grinding down the cook.
Save the printable card. Keep it on the fridge. The next time chicken thighs go on sale, dinner is already decided.
FAQs
Q: Can I use boneless skinless thighs instead?
Yes. Skip the sear and reduce the bake time to 12 to 15 minutes at 425°F. The crust and skin-driven flavor will be lighter, but the honey garlic glaze still carries the dish.
Q: Why does my glaze burn before the chicken is done?
The honey is caramelizing faster than the chicken is cooking. Tent the skillet loosely with foil for the last few minutes of the bake. If it happens repeatedly, drop the oven to 400°F and add 2 to 3 minutes to the cook time on the baked chicken thighs.
Q: Can I marinate the thighs in the glaze ahead of time?
Skip the marinade. Honey and soy will start curing the chicken if left more than an hour, which changes the texture. Mix the honey garlic glaze ahead and store it separately. Apply at the pan stage.
Q: What if I don't have rice vinegar?
Apple cider vinegar is the closest swap and works without changing the flavor noticeably. White wine vinegar also works. Avoid balsamic. The flavor is too dominant for this glaze.
Q: Why are my thighs still pink near the bone at 165°F?
Some bone-in thighs hold a slight pink tint near the bone even when fully cooked. The thermometer is the only reliable doneness signal. If it reads 165°F at the thickest part away from the bone, the chicken is safe.
Q: Can I make this 15 minute chicken dinner on the stovetop only?
Yes. After Step 4, lower the heat to medium-low, cover the skillet, and cook for 10 to 12 minutes. Check the internal temp at 8 minutes. Tent loosely if the glaze is getting too dark.
Q: How long do leftovers keep?
Leftovers hold for 4 days in an airtight container in the fridge. Reheat at 350°F for 5 to 7 minutes to keep the chicken from drying out. Microwave reheating works for a single serving but softens the skin.
The Chicken Prep Debate
Why did you vote that way? Drop your take in the comments.