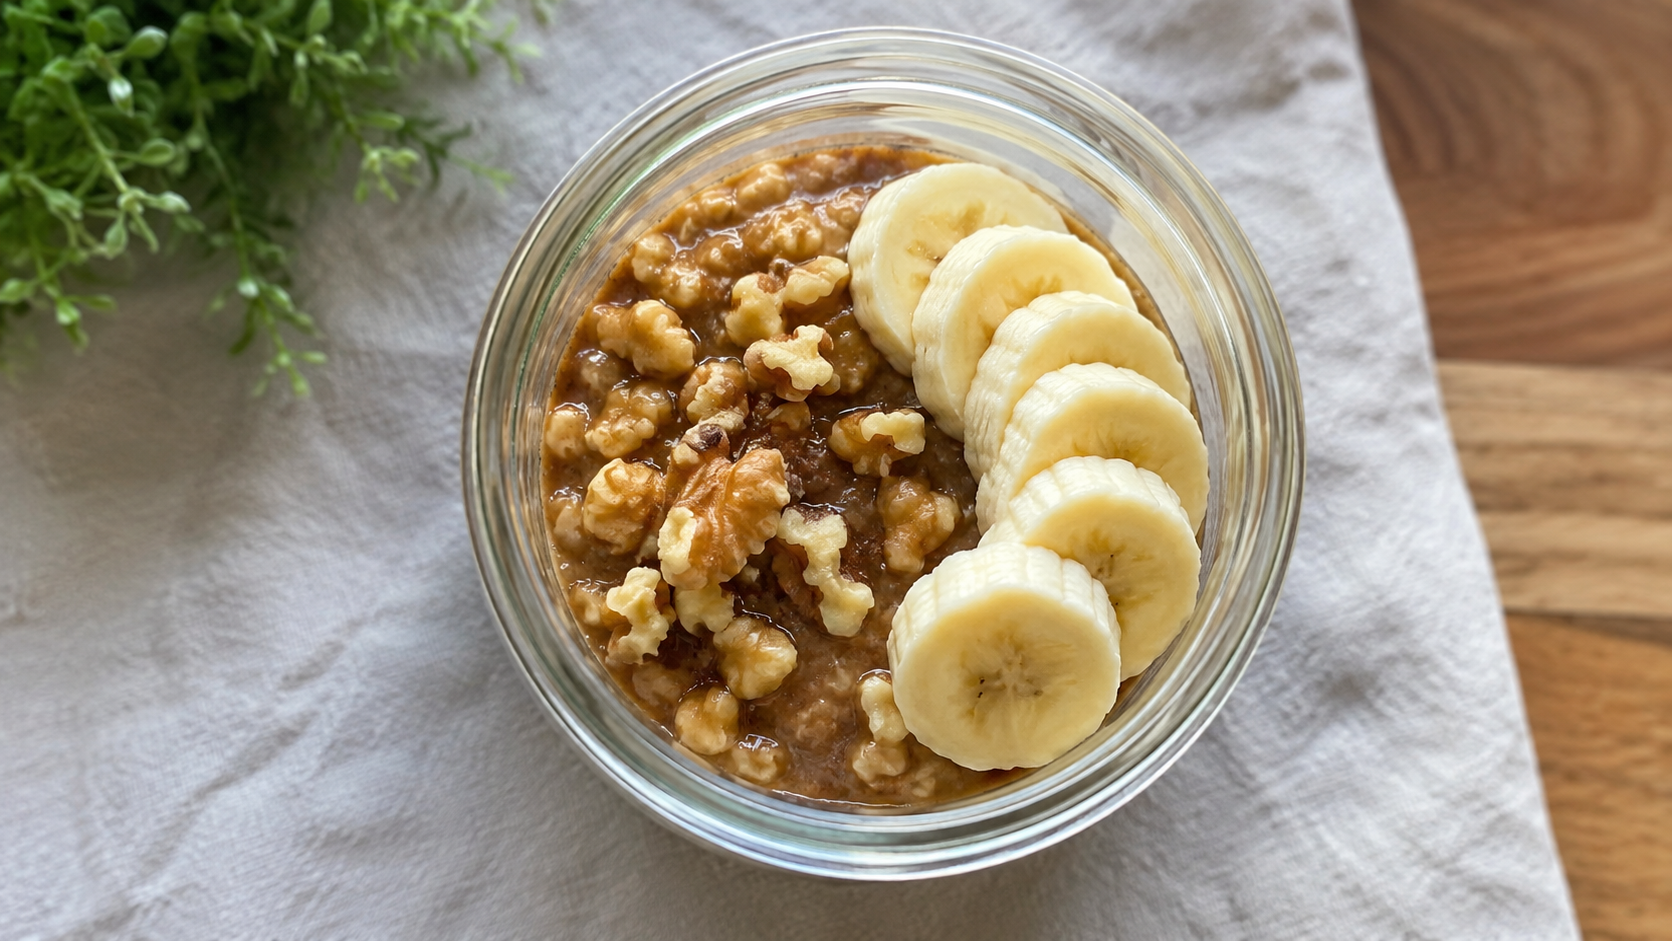
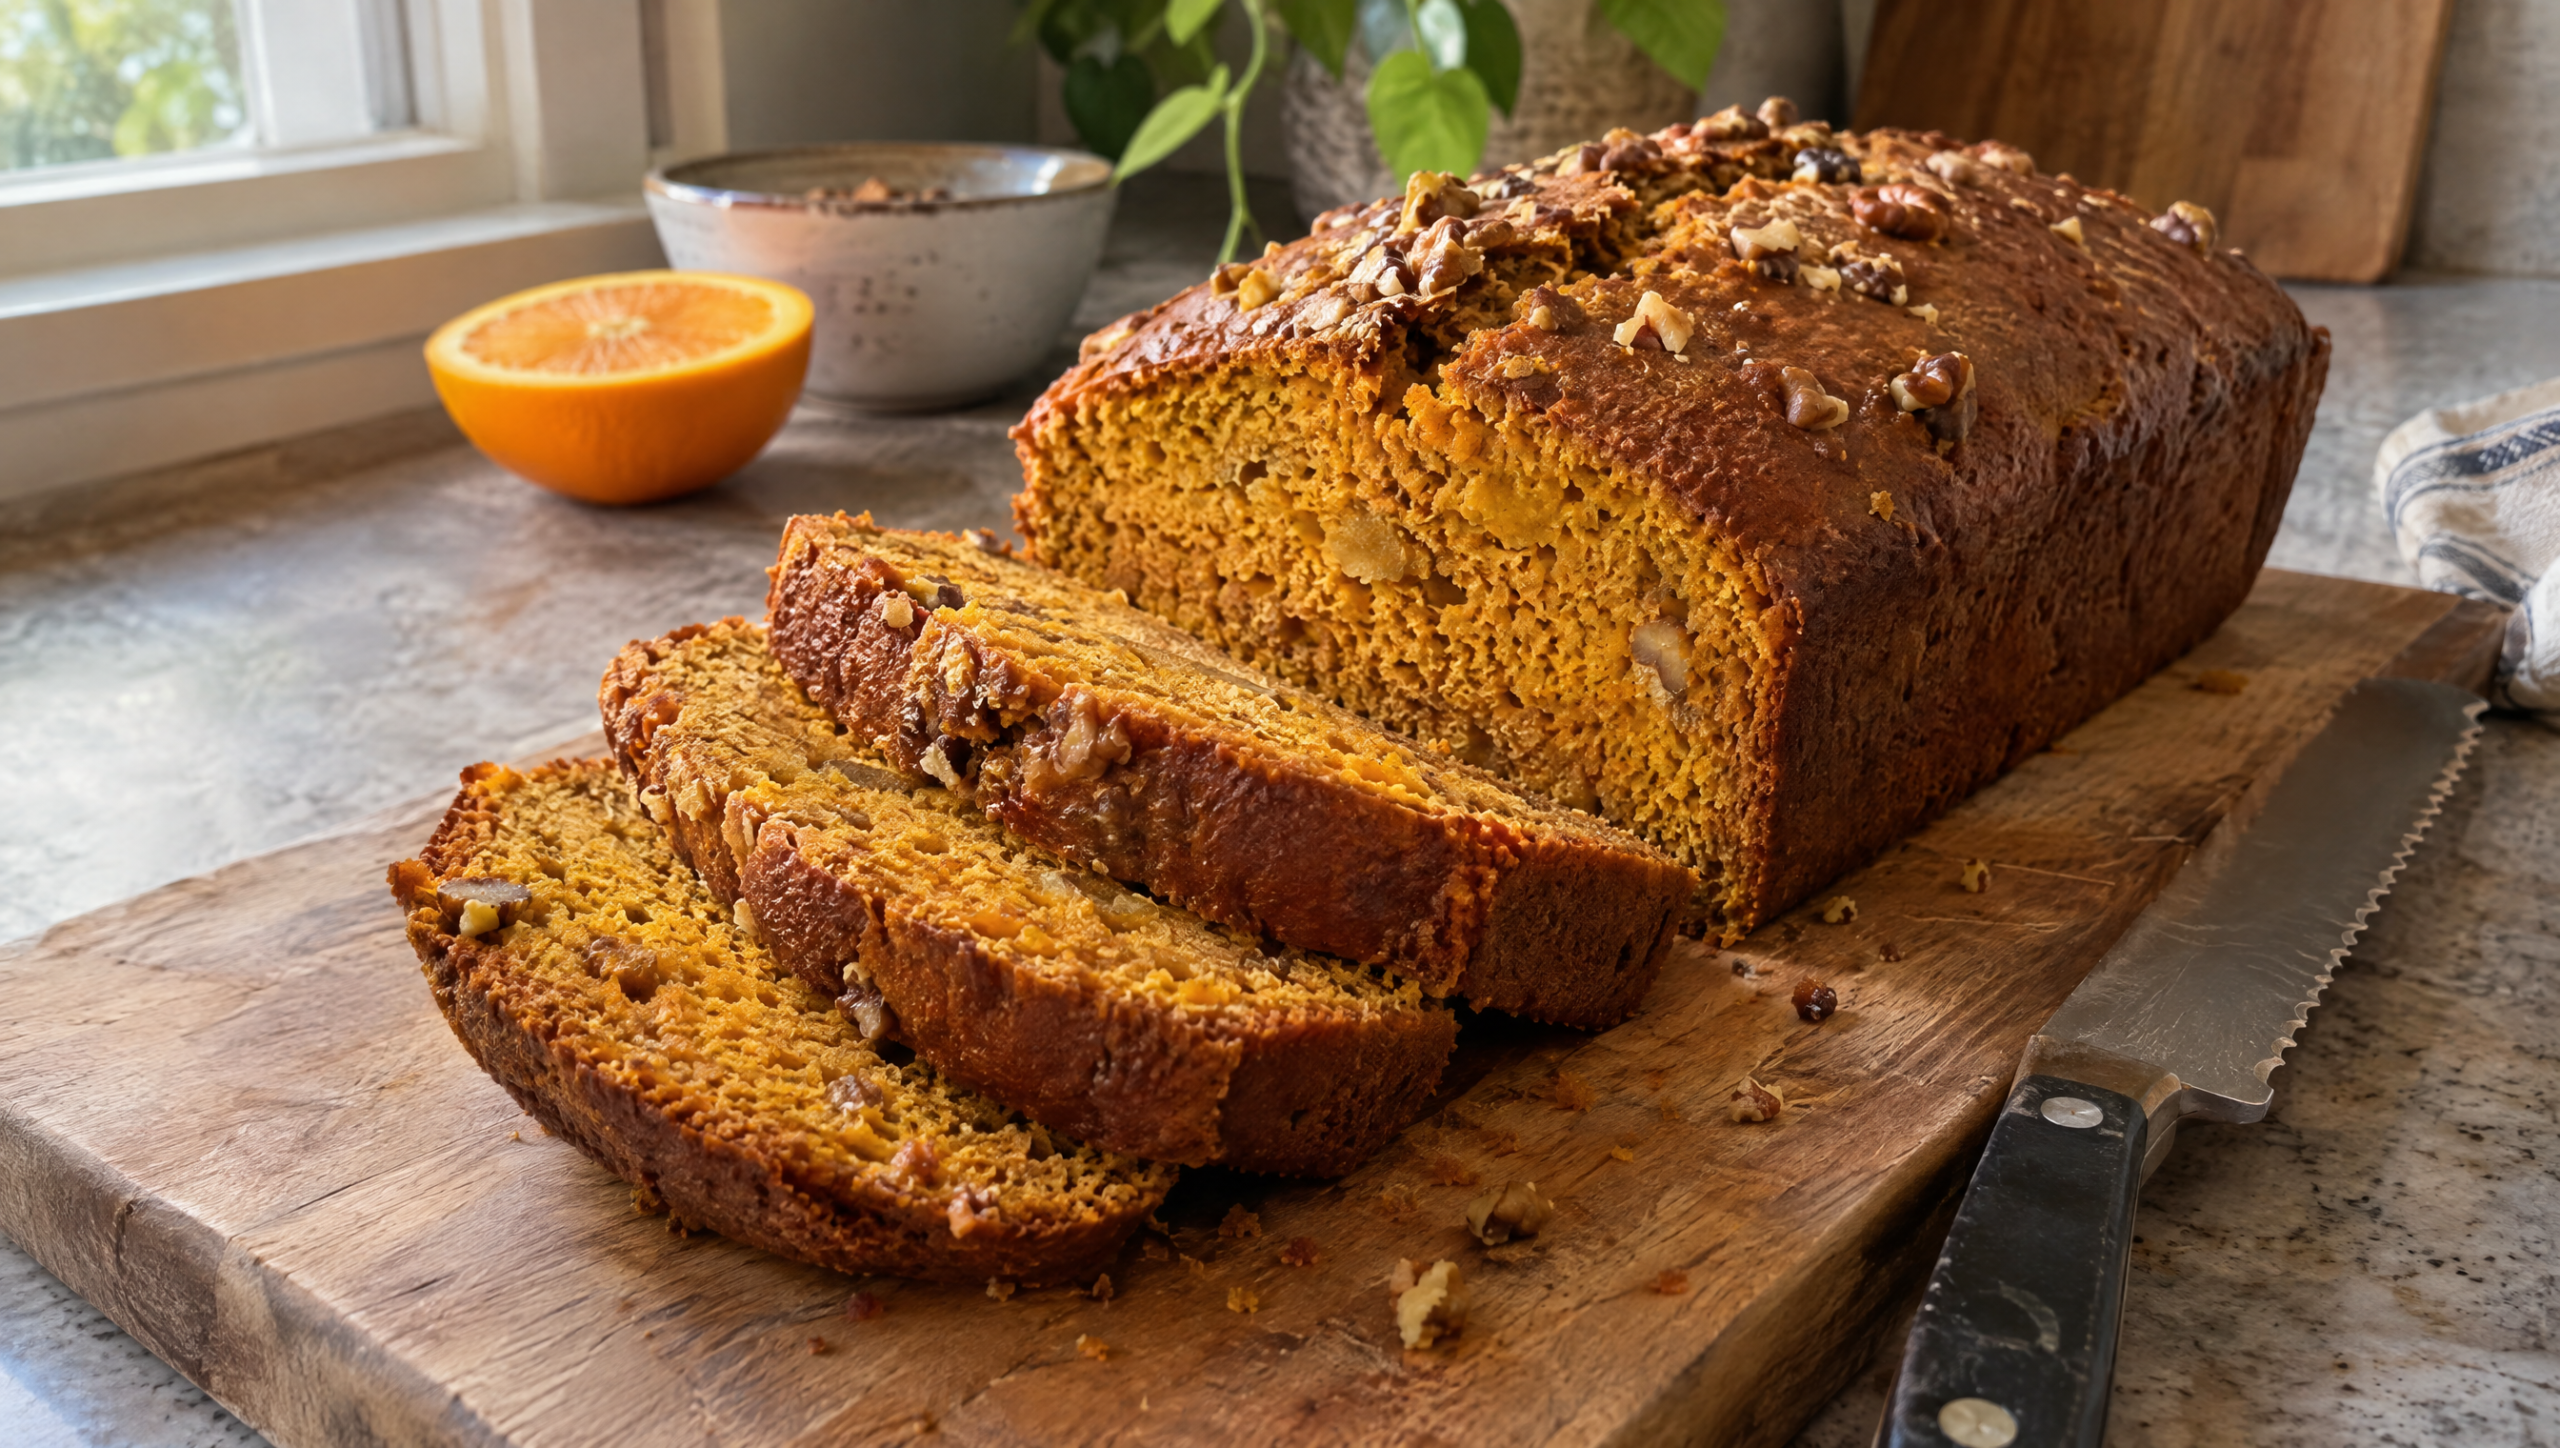


One full can of pumpkin, orange zest, and a spoonful of molasses. Bakes into a tall 9×5 loaf with a center you can check by number.
Recipe overview
- Active prep: 15 minutes
- Bake: 60 to 75 minutes at 350°F
- Cool: at least 1 hour before slicing
- Makes: one 9×5 loaf, 10 to 12 slices
- Pumpkin: one full 15-ounce can, nothing left over
To make homemade pumpkin bread that fills the pan and never turns gummy, use the whole 15-ounce can of pumpkin, stop mixing while a few flour streaks remain, and bake at 350°F until the center reads 200°F on an instant-read thermometer. In a 9×5 metal pan that takes 60 to 75 minutes.
Orange zest and a spoonful of molasses give this loaf its own flavor. The rest of this page covers the ingredients, the seven steps, how to tell it's done, and what to change if your last loaf sank.
Why this loaf uses the whole can
Most pumpkin bread recipes call for one cup of purée. A standard can holds about 1¾ cups. So you bake a loaf, then stare at the leftover pumpkin in the fridge for a week.
Home bakers notice. Leftover pumpkin sitting in the fridge drives plenty of people batty, and so do half-filled loaf pans.
This recipe is built around the full can. The flour, eggs, and leavening are scaled to match it, so the batter fills a 9×5 pan about three-quarters full and bakes into a tall, domed loaf. You open one can and use all of it.
Ingredients
Check off ingredients as you go. Cook mode keeps your screen awake.
For the batter
Dry ingredients
Mix-in and topping
How to make homemade pumpkin bread
You need two bowls, a whisk, and a spatula. No stand mixer.
1. Heat the oven and line the pan. Set a rack in the middle of the oven and heat it to 350°F (180°C). Butter a 9×5-inch metal loaf pan. Lay a strip of parchment across the bottom and up the two long sides so it hangs over the edges. That sling lets you lift the loaf out cleanly later.
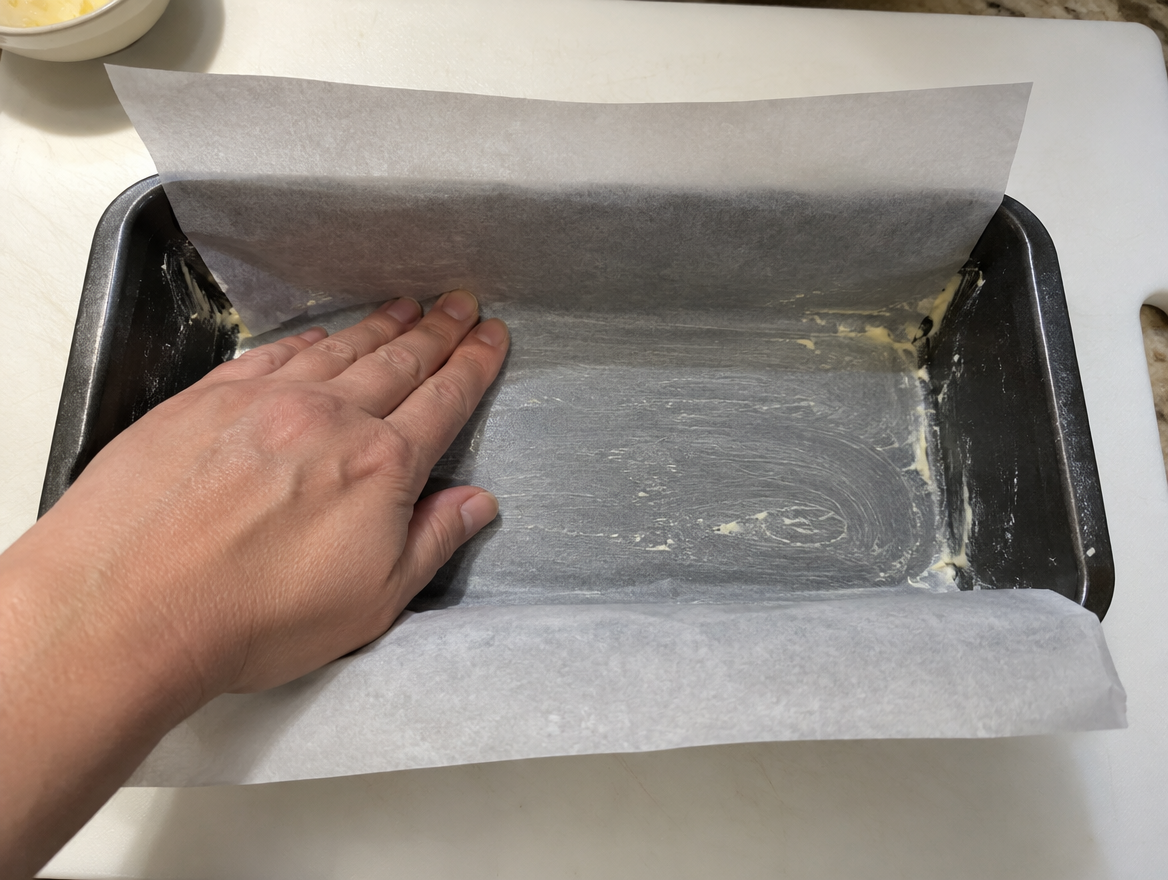
The parchment sling is what gets this tall loaf out of the pan in one piece. A roll with printed grid lines makes it easy to cut a strip the right width, and it's small enough to toss in with your next Amazon order.
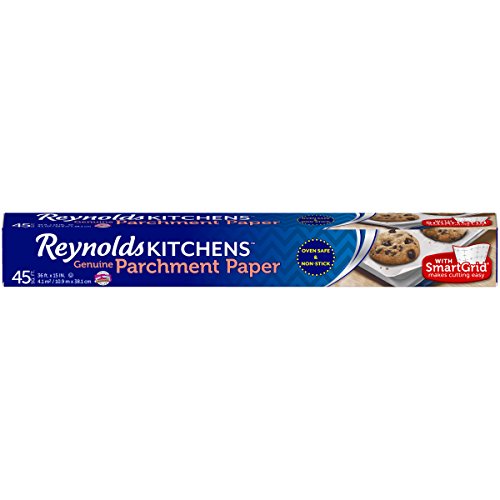
- REYNOLDS PARCHMENT PAPER—Contains one roll of Reynolds Kitchens Parchment Paper with SmartGrid lines...
- SMARTGRID LINES FOR EVEN SPACING—1- and 2-inch guidelines on these baking parchment sheets take the...
Last update on 2026-10-08 / Affiliate links / Images from Amazon Product Advertising API
(As an Amazon Associate, we earn from qualifying purchases.)
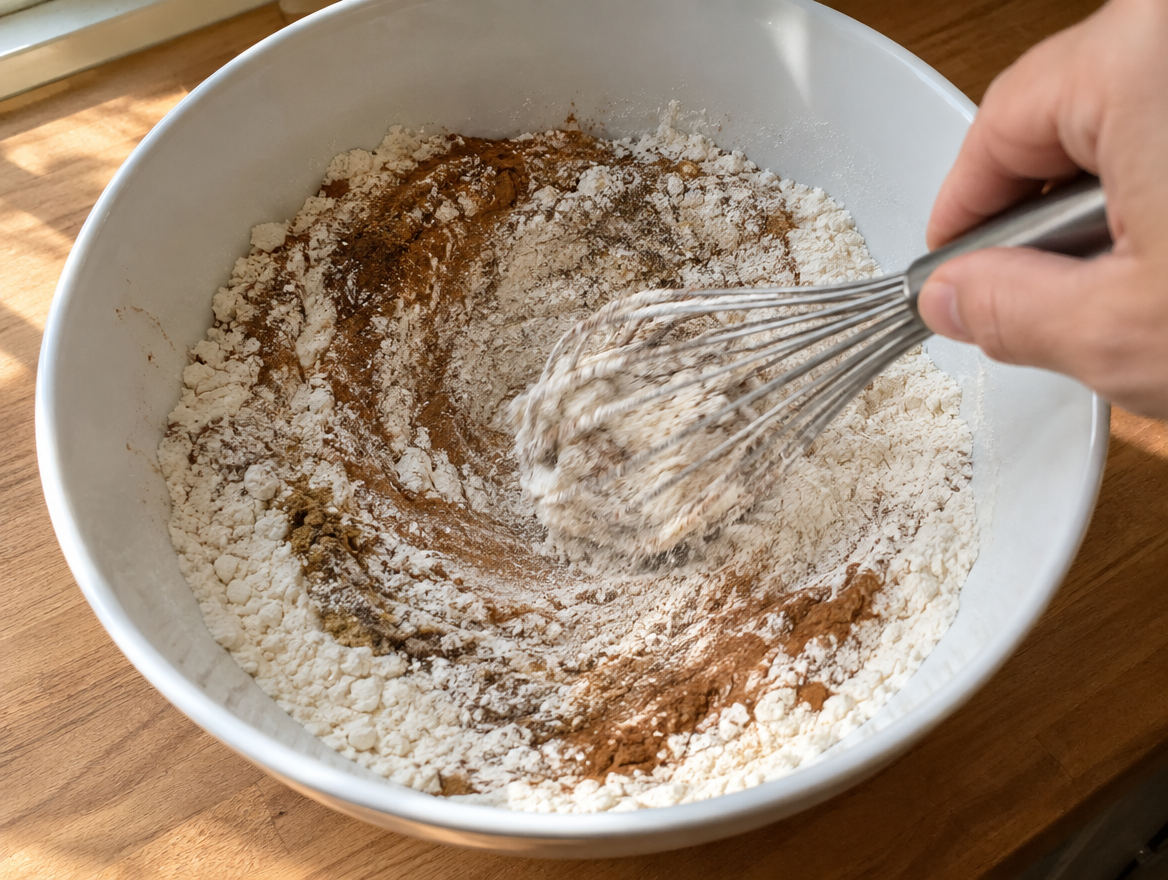
2. Whisk the dry ingredients. In a medium bowl, whisk the flour, baking soda, baking powder, salt, cinnamon, ginger, nutmeg, and allspice for about 30 seconds. You want the spices spread evenly so no slice gets a bitter pocket of soda.
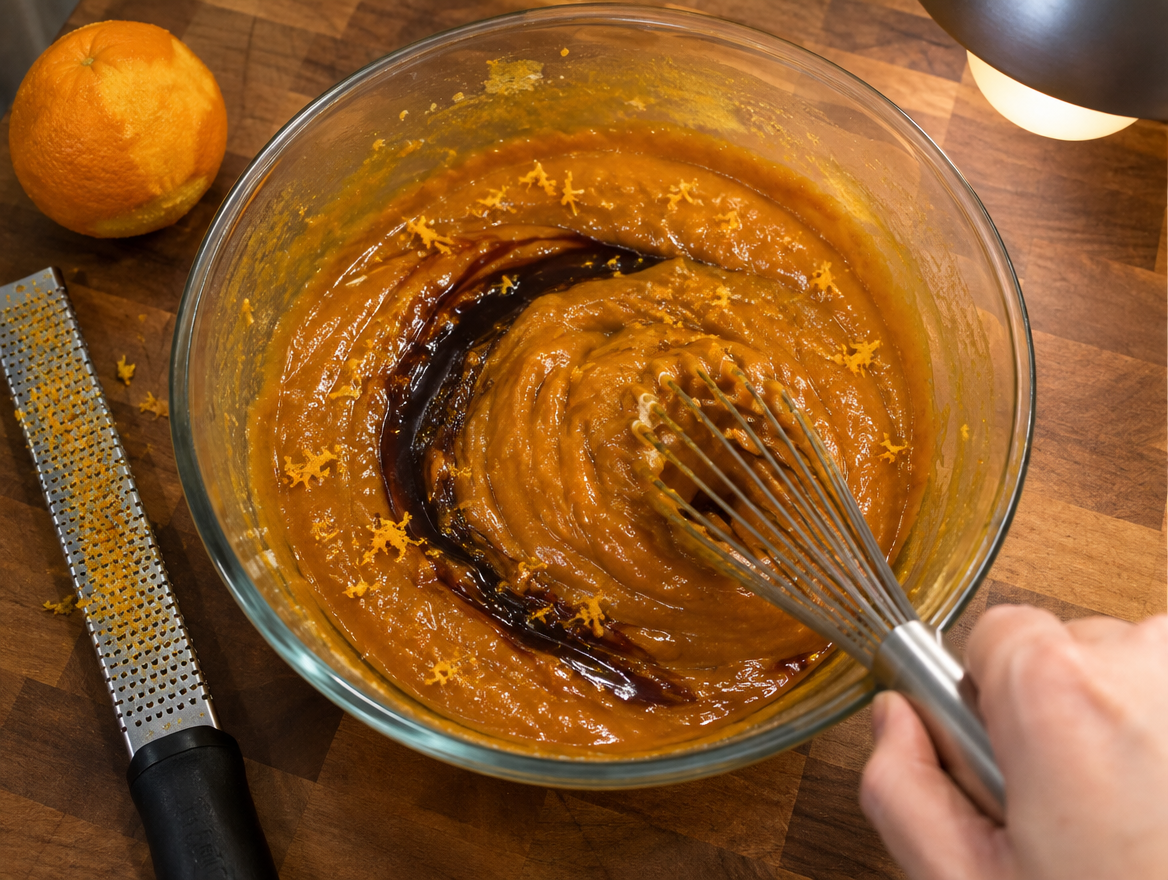
3. Whisk the wet ingredients. In a large bowl, whisk the pumpkin, brown sugar, eggs, melted butter, molasses, and orange zest until smooth and glossy, about 1 minute. No streaks of egg should remain.
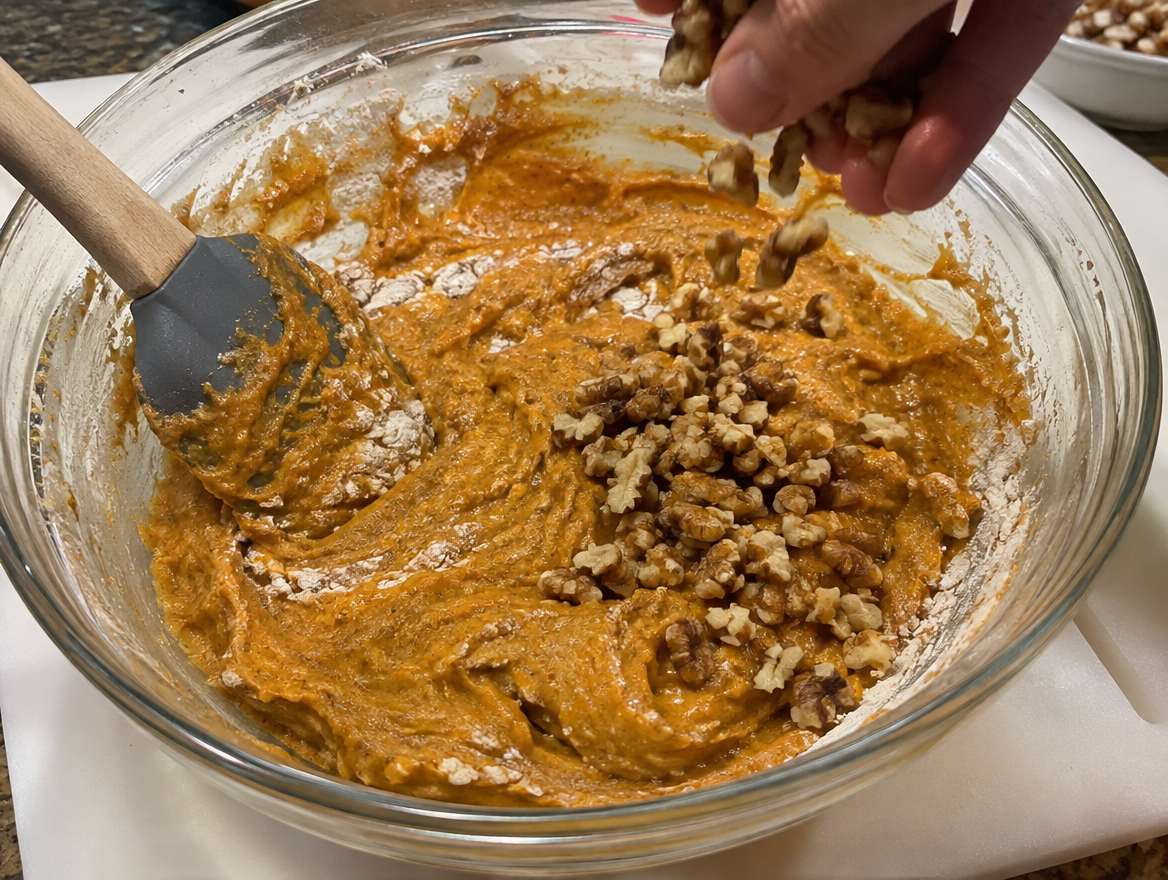
4. Fold the dry into the wet. Add the flour mixture to the pumpkin mixture and fold with a spatula about 15 times, just until you see only a few dry streaks. Add all but 2 tablespoons of the nuts and fold 3 or 4 more times. Stop there. The batter should look thick and a little lumpy.
5. Fill the pan. Scrape the batter into the lined pan and smooth the top. It should come about three-quarters of the way up. Scatter the reserved nuts over the top and press them in lightly.
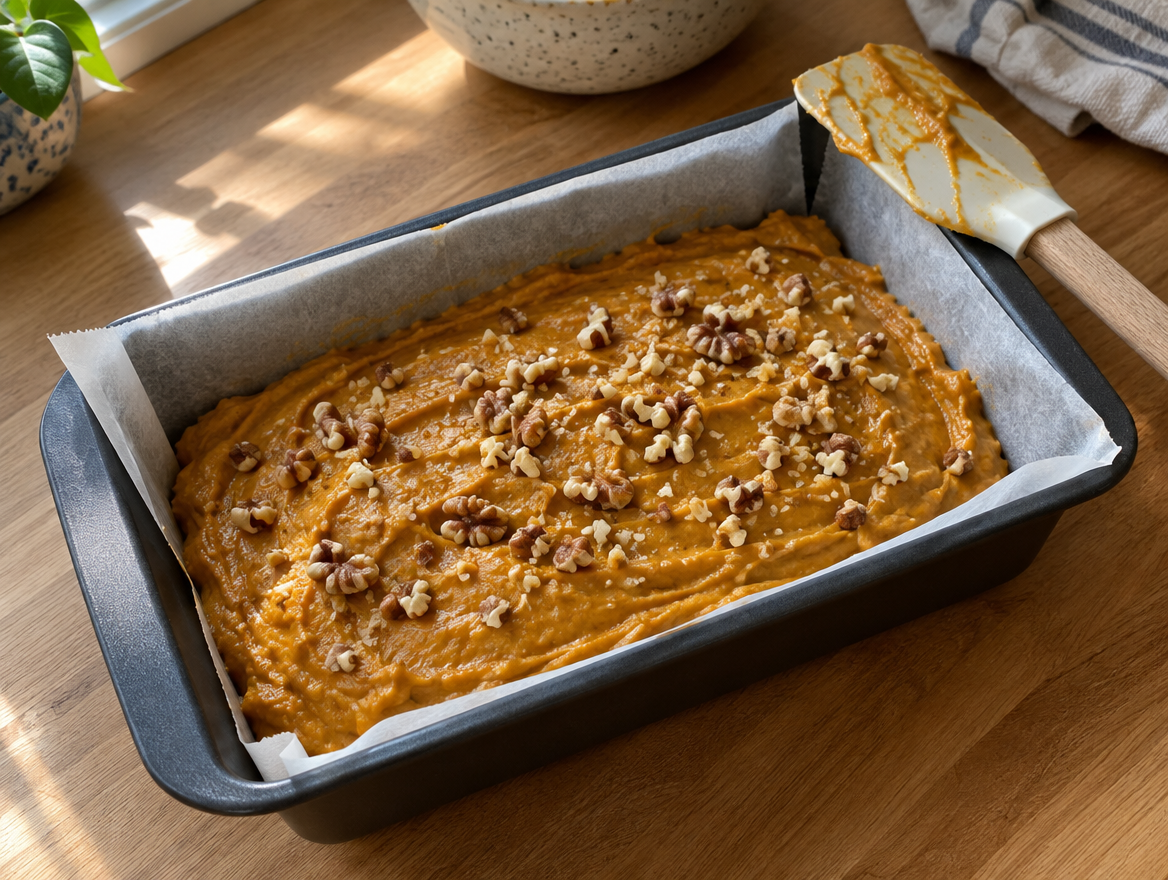
6. Bake and check the center. Bake 60 to 75 minutes. Start checking at 55 minutes. The loaf is done when the center reads 200°F, or when a skewer pushed into the middle of the crack comes out with a few moist crumbs but no wet batter. If the top is dark brown before the center is done, lay a sheet of foil loosely over the pan.
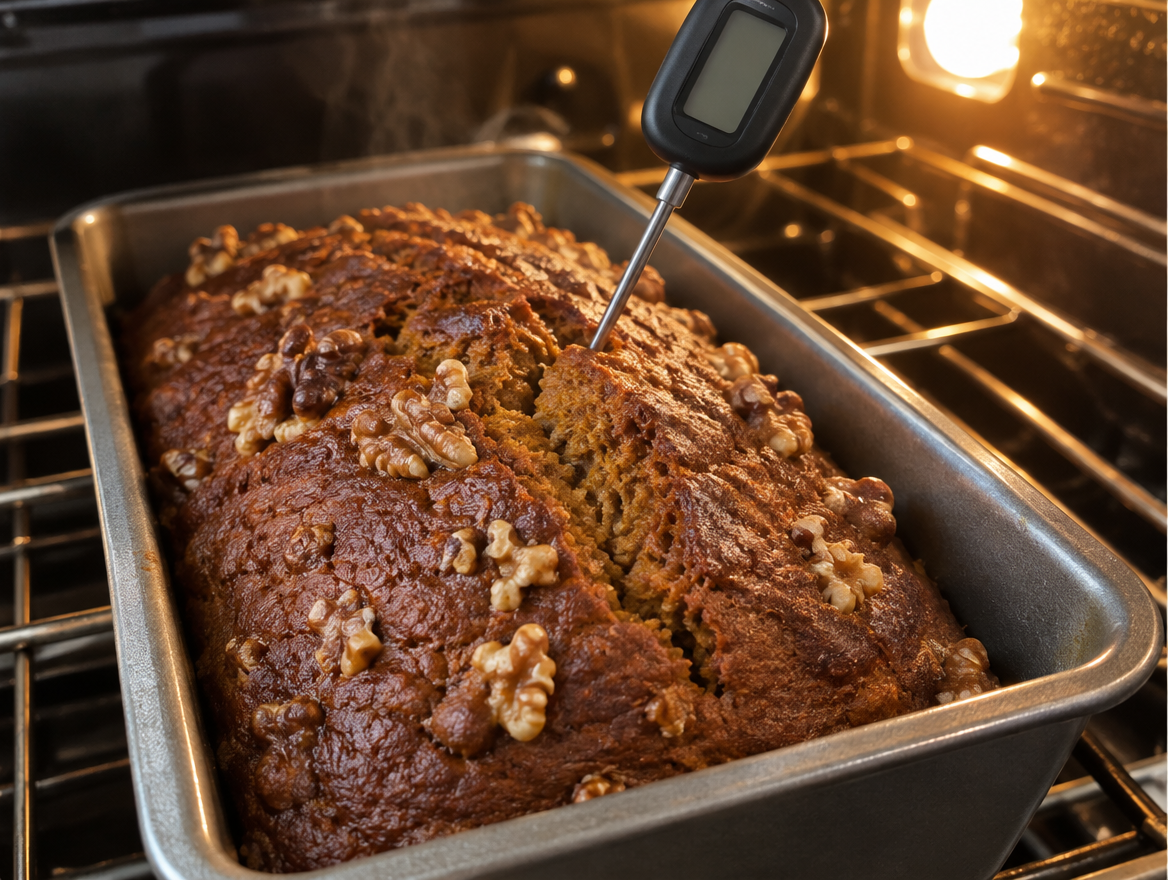
This is the step that decides the whole loaf. A fast instant-read thermometer gives you the 200°F reading in a couple of seconds, so you're not holding the oven door open while the center cools.
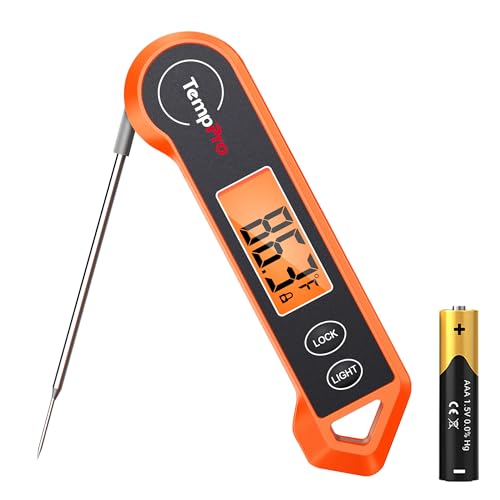
- Fast & Accurate: Get precise readings in just 1 second with ±0.9°F accuracy. NSF Certified for trusted...
- 2.0" Large Auto-Rotating Backlit Display: A large 2.0-inch backlit display with 180° auto-rotation keeps...
Last update on 2026-10-08 / Affiliate links / Images from Amazon Product Advertising API
(As an Amazon Associate, we earn from qualifying purchases.)
7. Cool, then slice. Cool the loaf in the pan on a rack for 15 minutes. Lift it out by the parchment and let it cool at least 1 hour more before cutting with a serrated knife. Slicing it hot squashes the crumb and makes it look wet.
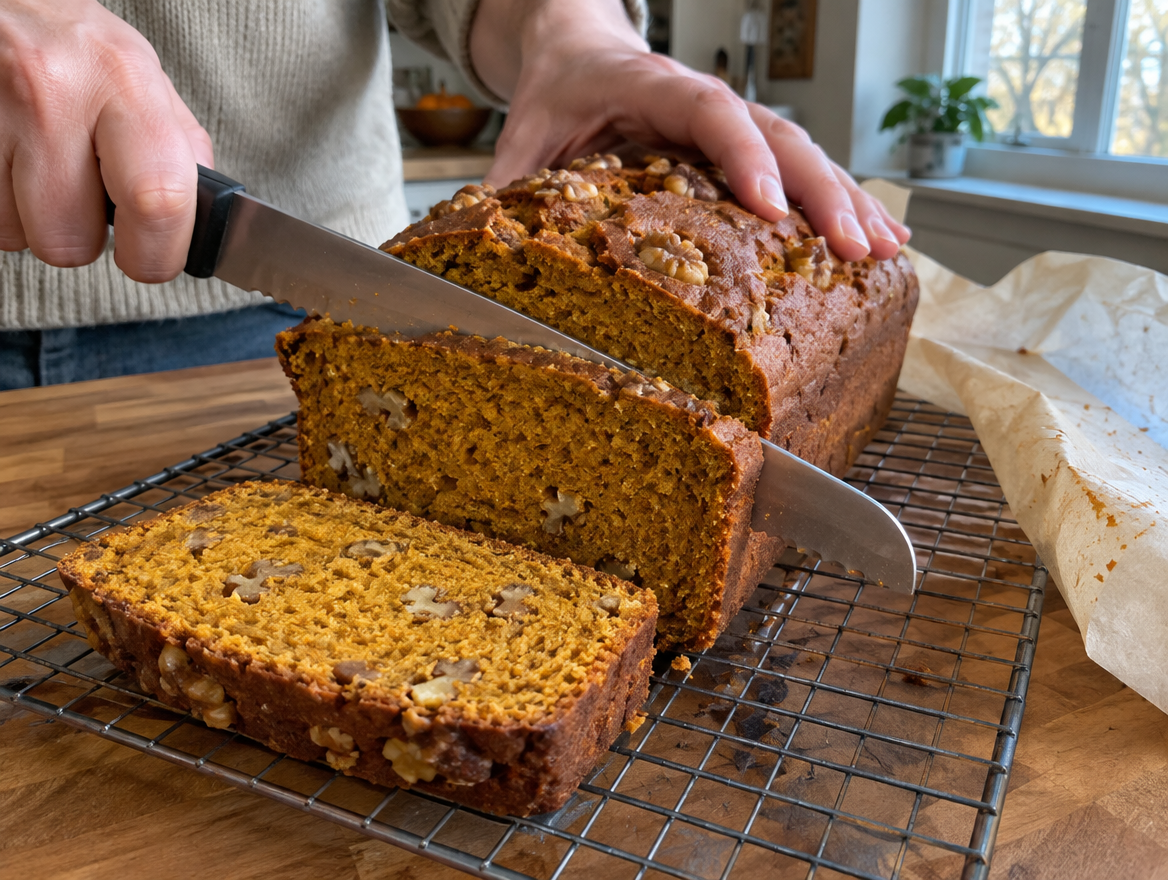
How do you know pumpkin bread is done in the middle?
Step 6 gives you the number, and it matters more than the clock. Pumpkin adds a lot of water to the batter, so the outside of the loaf looks finished well before the center is.
That gap catches people. A loaf can bake for 65 minutes and still have a raw band across the top of the center. If the middle still feels very soft when you press it, it isn't ready yet.
An instant-read thermometer takes the guessing out. Chowhound reports that pumpkin bread should register 200°F inside when it's done. Push the probe into the deepest part of the center crack, not near the edge.
No thermometer? Use a long skewer in the same spot. Wet, shiny batter means give it 5 more minutes and check again.
Why did my pumpkin bread sink or turn gummy?
Once you know how to check the center, most failures trace back to one of three causes.
It came out too early. This is the big one. A loaf that looks done on top but reads below 200°F in the middle will sink as it cools and leave a dense, wet band under the crust. Bake to temperature, not time.
The batter was overmixed. Stirring until the batter is perfectly smooth builds gluten, and the University of Wyoming Extension warns that overmixed quick-bread batter bakes up with “a chewy, tough texture with ‘tunnels.'” Fold until only a few streaks remain, as in Step 4.
The pan was the wrong size. This batter is sized for a 9×5 pan. In a smaller 8½x4½ pan it can rise over the rim and stay raw in the center. If that's all you have, fill it three-quarters full and bake the extra batter as 3 or 4 muffins.
If you're buying a pan for this recipe, get a light-colored metal 9×5. It browns the sides evenly and holds the full can of batter without spilling over.
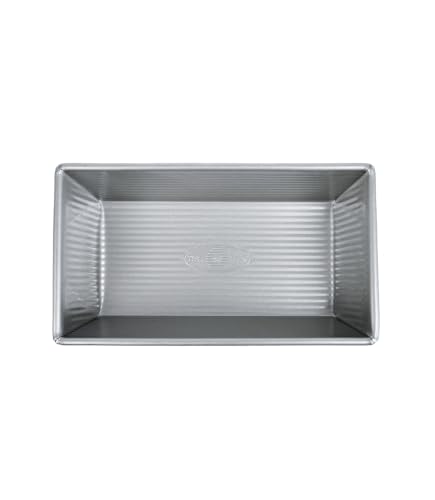
- Made in the USA from globally sourced materials; aluminized steel 1 1/4 lb Loaf Pan, commercial grade and...
- Unique corrugated surface design facilitates air circulation for evenly baked goods and quick release
Last update on 2026-10-08 / Affiliate links / Images from Amazon Product Advertising API
(As an Amazon Associate, we earn from qualifying purchases.)
A glass or light-colored pan also bakes differently from dark metal. If you use glass, drop the oven to 325°F and expect the bake to run a little longer.
Swaps that work after your first loaf
The ingredient list already shows swaps. The question is when to use them. Here there are two honest schools of thought.
One says bake the recipe exactly as written the first time. Then you know what “right” looks like, and you can tell whether a later change helped or hurt. The other says use what you have. Half a bag of pecans, a stick of salted butter, a roasted squash from Sunday: bake with it.
Both are right at different moments. If you've never made pumpkin bread, follow the recipe exactly once. If you've made it and liked it, change one thing at a time:
- Butter or oil. Oil gives a slightly moister, softer loaf that stays tender longer. Butter gives more flavor, and the loaf can come out a little denser.
- Less sweet. You can drop the brown sugar to 1 cup (200 g). The loaf will be a little less tender and brown more slowly, so lean on the thermometer.
- More spice. A common move is to double the spices. Start by adding ½ teaspoon more cinnamon and ½ teaspoon more ginger.
- Mix-ins. Swap the nuts for ¾ cup chocolate chips, or add ½ cup old-fashioned oats to the dry ingredients for more chew.
Make it once, eat it all week
One loaf gives you 10 to 12 slices. That's breakfast or an after-school snack for most of a week, so it helps to store it right.
Room temperature: Once fully cool, wrap the loaf tightly and keep it on the counter for up to 3 days. If your crust tends to go soggy by the next day, lay a paper towel over the top of the loaf before wrapping. It soaks up the moisture that rises out of the crumb.
Freezer: Slice the loaf, wrap slices in pairs, and freeze in a zip-top bag for up to 3 months. Pull one out the night before, or toast it straight from frozen.
Toast it: A day-old slice toasted in a skillet with a little butter is its own small meal. Pair it with the make-ahead ideas in our school lunch guide or the bars in our homemade breakfast bar roundup for a week of grab-and-go mornings.
You now know what done looks like
You came here for a pumpkin bread that fills the pan and cooks all the way through. You now have both: a recipe that uses the whole can, and a number that tells you when the center is ready. Put an instant-read thermometer next to your loaf pan before you preheat the oven. It's the one tool that turns this recipe from a guess into a sure thing. For more fall baking, browse our easy dessert recipes.
Frequently Asked Questions
Can I use pumpkin pie filling instead of pumpkin purée?
No. Pie filling is already sweetened and spiced, so the loaf will be too sweet and oddly seasoned. Check the can for one ingredient: pumpkin.
Can I make homemade pumpkin bread with fresh pumpkin?
Yes. Roast a small sugar pumpkin until soft, purée the flesh, and let it drain in a fine strainer for 30 minutes so it's as thick as canned. Measure 1¾ cups (425 g). Wet homemade purée is a common cause of a gummy center.
Can I bake this pumpkin bread recipe as muffins?
Yes. Divide the batter among 16 to 18 lined muffin cups and bake at 350°F. Start checking at 20 minutes; they're done when a toothpick in the center comes out clean.
How do I make pumpkin bread gluten-free?
Swap the all-purpose flour for the same weight (250 g) of a 1-to-1 gluten-free baking blend that contains xanthan gum. Expect a slightly denser crumb. Check doneness with a thermometer, since gluten-free loaves can look done early.
Why is my pumpkin bread dark outside but raw inside?
Your oven may run hot, or a dark pan may be browning the crust too fast. Check with an oven thermometer. Tent the loaf with foil once the top is deep brown and keep baking until the center hits 200°F.
Can I double this recipe?
Yes. Mix a double batch in one large bowl and bake in two 9×5 pans on the same rack with space between them. Rotate the pans halfway through the bake.
Is pumpkin bread better the next day?
Many bakers think so. After a night wrapped at room temperature, the crust softens slightly and the spices taste more rounded. Bake it the afternoon before you plan to serve it.
Be Honest: Is Canned Pumpkin Cheating?
This recipe is built on a can, and that starts a fight every fall. One side says canned bakes more evenly than anything you'll roast at home. The other says roasting your own is the whole point.
Pick your side.
Why did you vote that way? Drop your take in the comments.