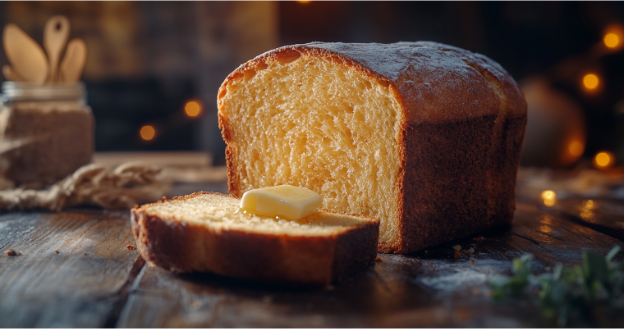
Freshly baked bread is one of life’s simple pleasures. A crisp, golden crust, a soft, airy crumb, and a rich, comforting aroma—what’s not to love? If you’ve never baked bread before, don’t worry! This guide will walk you through every step from mixing the dough to pulling a perfect loaf out of the oven. By the end of this article, you’ll have delicious homemade bread you can proudly share. Let’s get baking!
How to Make Homemade Bread (Beginner Guide): Key Takeaways
- This recipe teaches complete beginners how to bake a classic loaf using simple pantry ingredients: flour, water, yeast, salt, and optional sugar.
- The process follows a traditional method: activate yeast, mix dough, knead until elastic, let rise twice, then shape and bake.
- Kneading is essential in this recipe because it quickly develops gluten and gives the bread its soft, springy crumb.
- A proper first rise (1–2 hours) and a shorter second rise provide the dough a fuller, more even lift in the oven.
Why Bake Your Own Bread? 🍞
Homemade bread not only tastes great, but is also healthier and more satisfying than store-bought loaves. Here’s why you should give it a try:
✅ Fewer Ingredients, No Preservatives – Most store-bought bread contains many preservatives. Conversely, homemade bread only consists of a few organic ingredients.
✅ Cost-Effective – A bag of flour can make multiple loaves, hence, saving you money in the long run.
✅ Customizable – You can adjust flavors, textures, and add-ins (seeds, herbs, or cheese).
✅ Therapeutic and Fun – Kneading dough is surprisingly relaxing. Plus, nothing beats the pride of slicing into a loaf you made from scratch!
What You’ll Need
- Flour
- Water
- Yeast
- Salt
- Sugar (Optional)
For tools, you’ll need:
- Measuring cups and spoons
- A wooden spoon or dough scraper
- A baking sheet or loaf pan
- Parchment paper (optional but helpful)
Step 1: Activate the Yeast
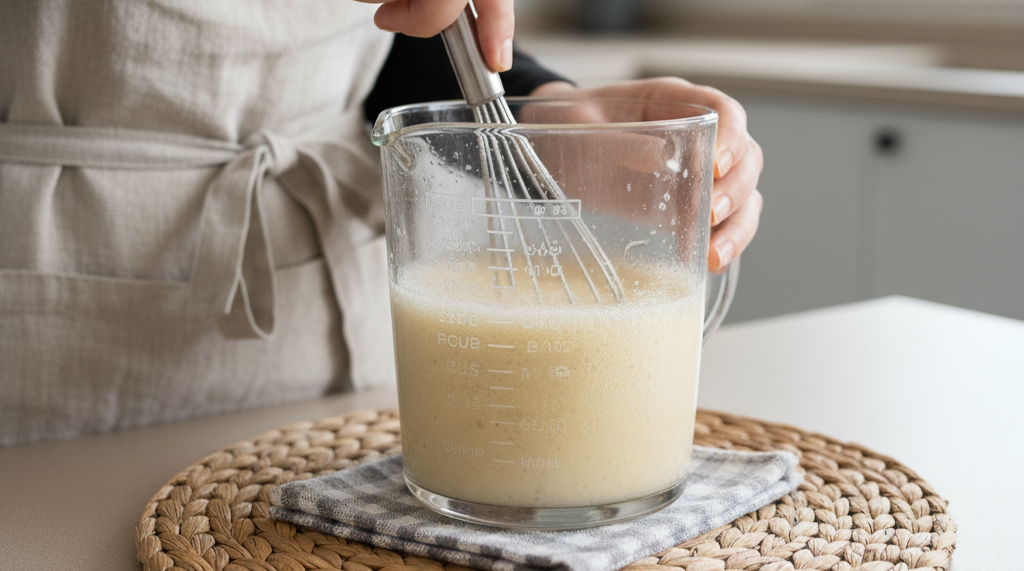
In a bowl, mix 1 cup of lukewarm water with 2 ¼ teaspoons of yeast and 1 teaspoon of sugar. Let it sit for 5–10 minutes.
Step 2: Mix the Dough

In a large bowl, combine 3 cups of flour with 1 teaspoon of salt. Make a well in the center and pour in the activated yeast mixture. Stir everything together until it forms a rough dough.
Step 3: Knead the Dough
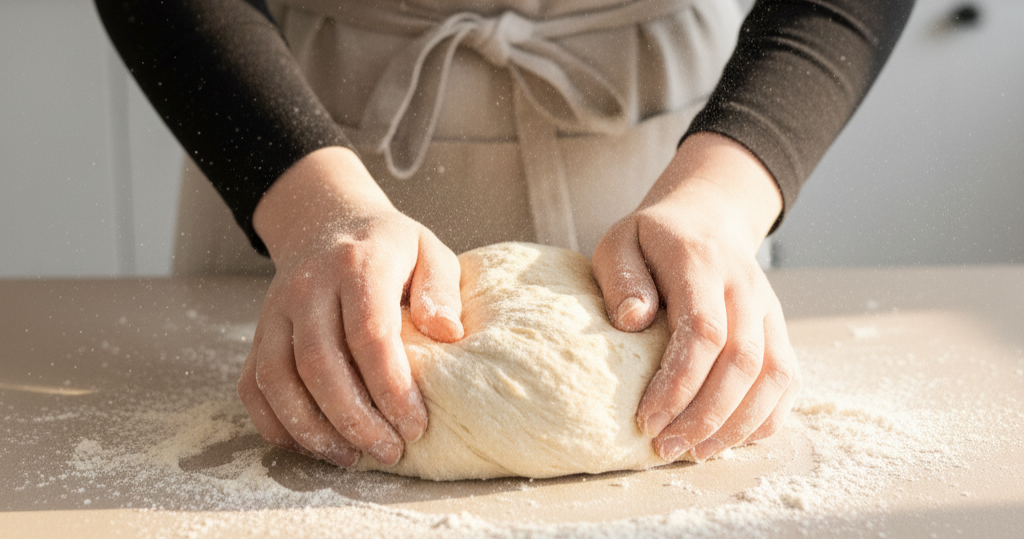
Sprinkle a little flour on a clean surface. Then, place the dough on it and start kneading. Use the heel of your hand to push the dough away, fold it over, and repeat. Keep going for about 8–10 minutes. The dough should become smooth and elastic. If it sticks too much, dust your hands with flour, but don’t overdo it—too much flour makes dense bread.
To check if the dough is ready, press it with your finger. If it springs back, you're good to go. If it stays indented, knead for another minute or two.
Step 4: Let the Dough Rise
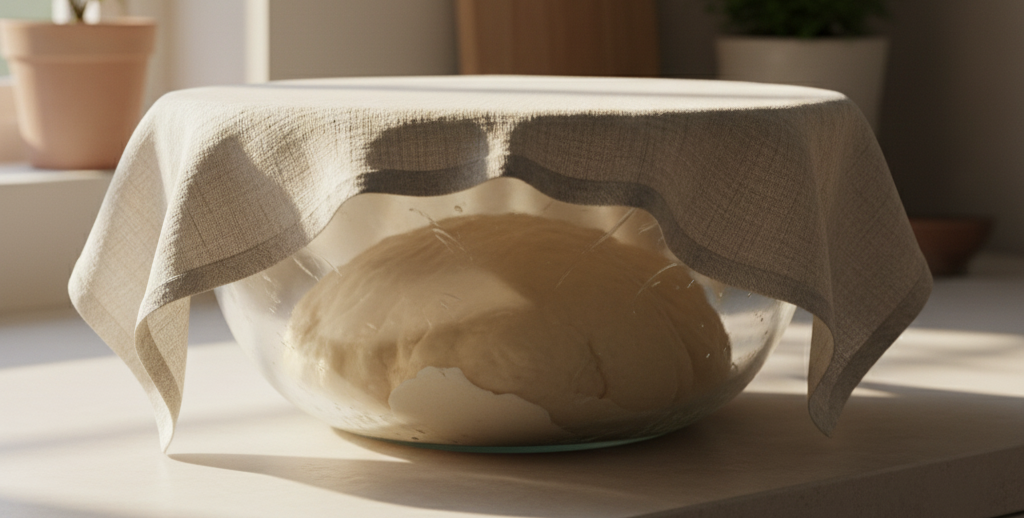
Place the dough in a lightly greased bowl. Cover with a clean kitchen towel and let it rest in a warm spot for 1 to 2 hours or until it doubles in size. If your kitchen is cold, put the bowl inside the oven with the light on (but don’t turn the oven on).
Step 5: Shape the Dough

Once the dough has risen, punch it down gently to release air. Then, transfer it back to a floured surface and shape it into a ball or log. Tuck the edges under to create tension on the surface to help the dough hold shape. If using a loaf pan, grease it lightly and place the dough inside.
Step 6: Second Rise
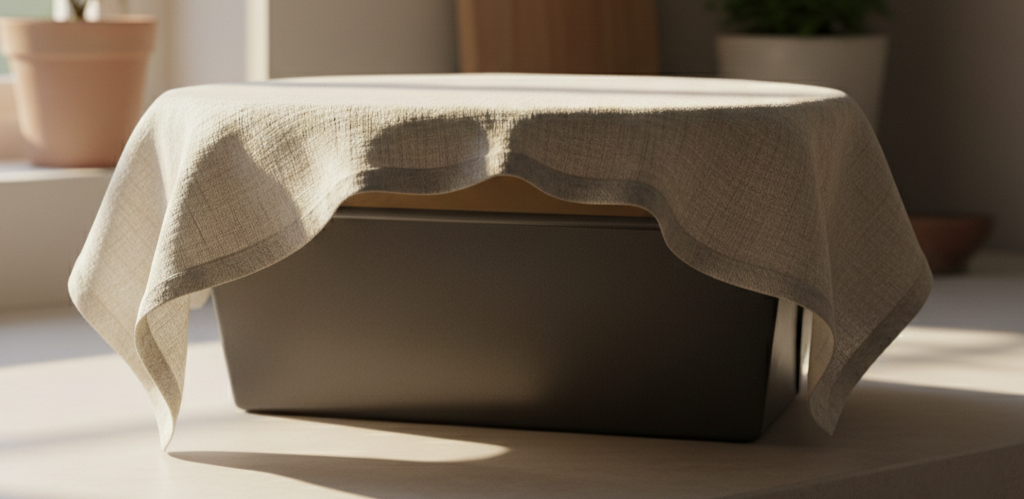
Cover the dough again and let it rest for another 30–45 minutes. For the second rise, the dough should puff up slightly but not double in size.
Step 7: Bake the Bread
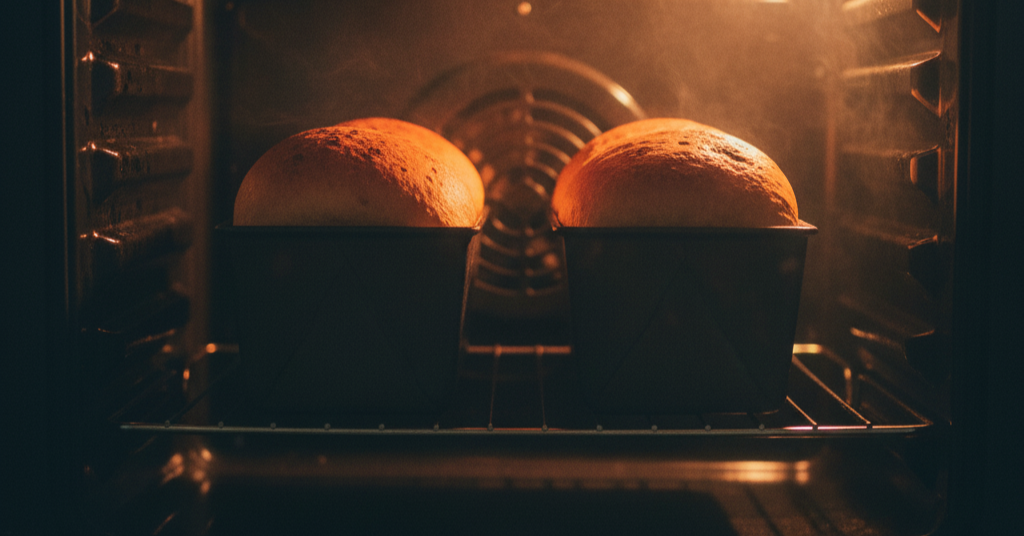
Preheat your oven to 375°F (190°C). If you want a crispy crust, place a small pan of hot water on the bottom rack to create steam.
Bake for 25–30 minutes, or until golden brown. To check if it’s done, tap the bottom of the loaf. It should sound hollow. If unsure, insert a thermometer—the inside of the bread should be at least 190°F (88°C).
Step 8: Cool and Enjoy
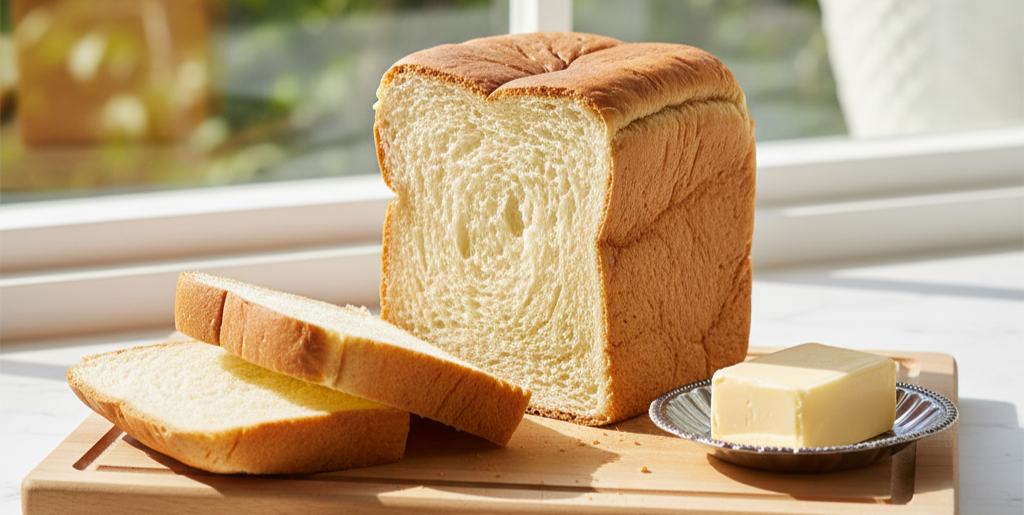
Transfer the bread to a cooling rack. Let it sit for at least 20 minutes before slicing to help set the texture. Cutting too soon makes it gummy inside.
Now, slice it up, slather on some butter, and enjoy your homemade bread!
Your Kitchen, Your Bakery
You don’t need a fancy bakery to enjoy fresh, homemade bread because you just made one in your own kitchen! The best part is, it only gets easier from here. Experiment with different flours, shapes, or toppings, and soon, store-bought bread won’t stand a chance. Now, it’s time to dig in!
What Comes After Your First Loaf?
Many home bakers take the next step by learning how to make sourdough bread from scratch. If you want a deeper flavor and a true artisan-style rise, start with our beginner-friendly sourdough bread recipe.
FAQs About Homemade Bread
Can I use whole wheat flour instead?
Yes, swap only half the white flour so the bread stays tender instead of dense.
My dough isn’t rising…what went wrong?
Check whether your yeast is active, and make sure your kitchen is warm enough for proofing.
How do I store homemade bread?
Wrap it in a clean kitchen towel or keep it in a paper bag at room temperature for up to 3 days.
Can I freeze homemade bread?
Absolutely. Wrap it tightly in plastic wrap, then foil, and freeze for up to 3 months.
What if I don’t have a loaf pan?
No worries, shape the dough into a round and bake on a parchment-lined sheet pan.