
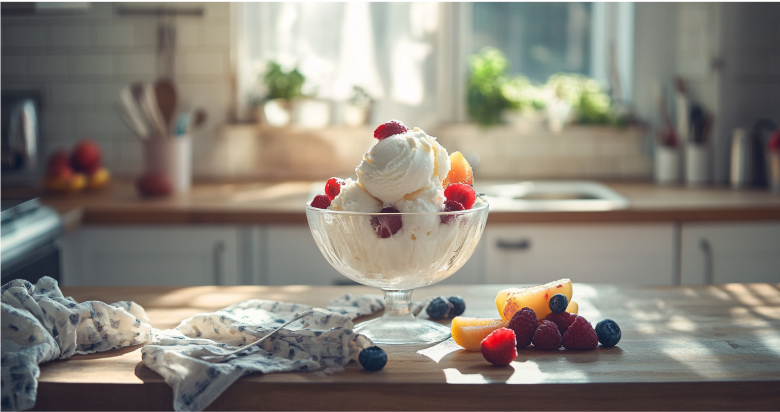
When the temperature spikes and dessert sounds like the only good idea, homemade ice cream should be an easy win. But if you’ve opened the freezer with nothing ready or tried a recipe that turned to ice instead of something creamy, you already know the letdown. We all want a cold dessert we can make with confidence. One that freezes well and stays creamy when it’s time to scoop.
DIY ice cream is a method for making the real deal dessert at home without an ice cream maker. It uses simple ingredients and a few steps to build texture and flavor without churning. This article explains how the method works to give you the results you want.
Why DIY Ice Cream Works Without a Machine
You don’t need a machine to give ice cream its desired soft texture. It comes from how ingredients behave and how you treat them. Fat adds richness by coating ice crystals and softening the base. Meanwhile, sugar lowers the freezing point and helps prevent large crystals from forming. A churner usually manages these steps automatically, but you can duplicate the same results even without it.
The Only Ingredients You Need
For a dairy version:
- 2 cups cold heavy cream
- 1 can (14 ounces) sweetened condensed milk
For a non-dairy version:
- 2 cans (13.5 ounces each) full-fat coconut milk
- ½ cup maple syrup
- ¼ teaspoon salt
Optional flavor additions:
- 1–2 teaspoons vanilla extract
- Citrus zest (about 1 teaspoon)
- ½ cup blended fruit (strawberries, mango, banana, etc.)
Step-by-Step: How to Make DIY Ice Cream Without a Machine
Making DIY ice cream doesn’t rely on tricks but instead follows a clear, repeatable process. Each step builds on the last to create smooth, scoopable texture.
- Whip the cream until stiff peaks form. Cold cream and a chilled bowl help trap more air.
- Fold in the sweetened condensed milk or sweetener of your choice. Mix slowly and avoid deflating the base.
- Add your flavorings during folding to help distribute vanilla, purée, zest, or spices without deflating the base.
- Transfer to a chilled container and smooth the surface. Cover tightly to prevent ice buildup.
- Freeze the cream for 6 hours or overnight. Stir after 2–3 hours if you want a smoother texture.
- Scoop and serve when the ice cream’s texture becomes firm but soft enough for a spoon to glide through.
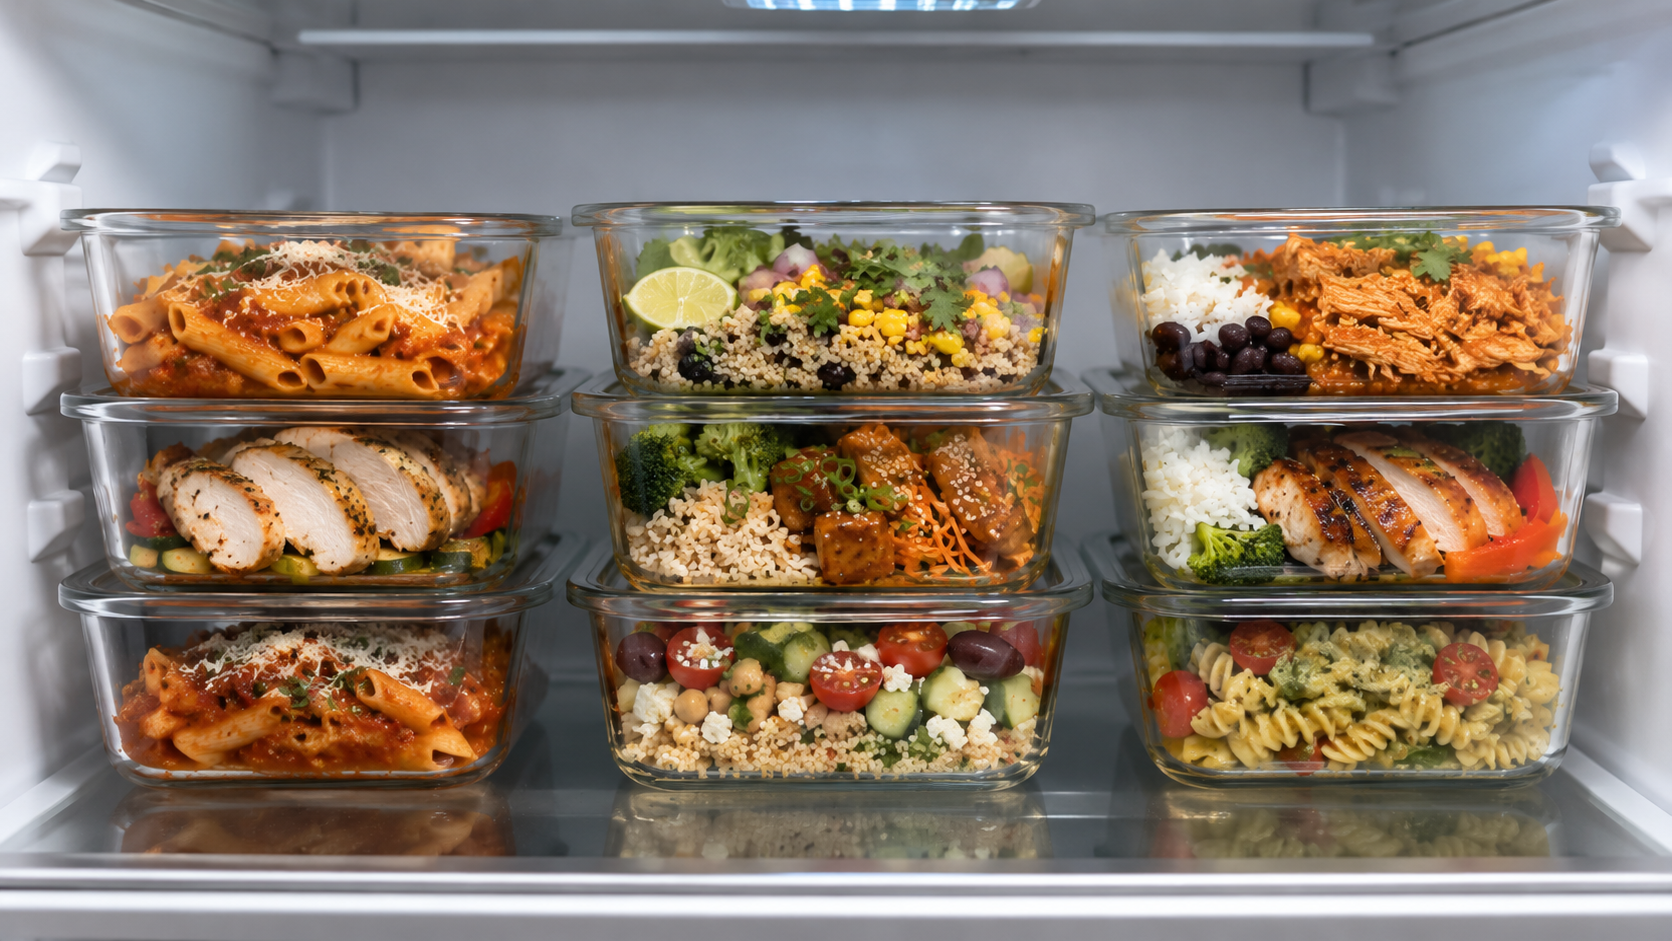
- Store any leftovers covered. For best taste and texture, enjoy within a week.
How to Build a DIY Ice Cream Ritual That Lasts
Once you successfully complete the process, you’ll see how easy you can make new batches of DIY ice cream. Try new flavors seasonally. Let your kids or roommates stir in their own mix-ins. Batch a base on Friday night and scoop it on Saturday. This can fit into your weekly routine whether it’s part of a weekend plan or a quiet evening at home.
How to Create Flavor and Texture Like a Pro
Consistency depends on preparation. Start by chilling your mixing bowl and base to prevent ice from forming too fast and keep the texture smooth. When folding in mix-ins like fruit, nuts, or chocolate, wait until the whipped base is ready so you don’t lose any volume during folding. To deepen the flavor, steep mint leaves in cream overnight or toast spices or nuts for more aroma. Use real vanilla if it’s available. It holds its flavor better than extract during freezing.
What to Leave Out of Your DIY Ice Cream
Skip the protein powders, ice cream salt, and powdered milk. These extras complicate the process without improving flavor or texture. The simpler the technique, the better the flavor. As a plus, you get to spend less time adjusting mistakes.
Still Think DIY Ice Cream Needs a Machine?
You’ve seen how this method holds up without shortcuts. When you whip the base correctly and time the freeze well, the texture comes out smooth. Once you’ve gone through the process once, repeating it will eventually feel natural. What’s the first version you’ll make in your own kitchen?
FAQs
- Do I need an ice cream maker to follow this recipe?
No. Everything is done by hand with basic kitchen tools. - What’s the base made of?
Heavy cream and sweetened condensed milk—or coconut milk and maple syrup for a dairy-free version. - Can I use low-fat ingredients?
It’s not recommended. Lower fat leads to icy texture. - How long does it take to freeze?
About 6 hours, or overnight for best results. - Can I add mix-ins like chocolate or fruit?
Yes. Add them gently after whipping the base. - How long does homemade ice cream last in the freezer?
It’s best within one week. Store it tightly covered. - Why stir the ice cream partway through freezing?
Stirring after 2–3 hours helps reduce ice crystals. - Can I make it sweeter or less sweet?
Yes. Adjust the sweetener slightly, but keep the ratio balanced. - Is the texture really creamy without a machine?
Yes. Proper whipping and freezing technique gives a smooth result. - What’s the easiest flavor to start with?
Vanilla. It’s simple, reliable, and easy to build on.


4 thoughts on “DIY Ice Cream: A Recipe You Can Make Without a Machine”
Chocolate ice cream is rich, creamy, and always satisfying
You have great taste! Chocolate is my personal favorite too. Creamy and never disappoints. 🍫🍦
Cheese ice cream is smooth, indulgent, and full of flavor
I agree! If you loved cheese, mango is a great next flavor to try. It works beautifully in this base. 🍦