

Quick Summary: Budget Meal Prep Containers
- Cheap containers that warp or stain in six months aren't actually the budget option, total cost over a year matters more than price per unit.
- Start with what's already in the kitchen before buying anything new.
- Reserve new spending for containers that touch heat or acidic sauce (glass); cheap plastic is fine for dry or cold storage only.
- Square and rectangular shapes stack; round containers waste fridge space.
Cheap containers aren't automatically the budget choice. A plastic set that warps in the microwave or stains permanently after one batch of chili gets replaced within a year, and that replacement cost adds up faster than most people notice.
These budget meal prep containers and storage hacks are built around one idea: spend where it actually pays off, and skip spending everywhere else.
1. Start With What You Already Own
Before buying anything, check what's already in the kitchen. Deli containers, jars, and mismatched lids all work as a starting system.
This isn't a placeholder until “real” containers arrive. Reused containers are a legitimate long-term system for dry goods, snacks, and short-term fridge storage.
2. Know Where Cheap Plastic Actually Fails
Cheap plastic isn't the problem everywhere. It's the problem specifically with heat and acid.
- Reheating in the microwave warps thin plastic faster than any other single use.
- Tomato sauce, curry, and turmeric-based dishes stain plastic permanently within a few uses.
- Dishwasher heat on the top rack speeds up warping on lids especially.
If a container never touches heat or a staining sauce, cheap plastic can last for years. If it does either regularly, it won't.
3. Spend on Glass Where It Counts
Glass costs more upfront, but it's the material that actually holds up to reheating and sauce. One glass set replaces a plastic set that would otherwise get replaced every 6 to 12 months.
Substitution note: Individual glass pieces from Target or Marshall's are often cheaper than buying a boxed set online, especially if you only need a few sizes to start.
If you're deciding what to buy first, a mixed-size glass set covers the widest range of uses in one purchase. The Rubbermaid Brilliance Glass Set (9 containers, 18 pieces) includes small, medium, and large sizes with lids that share across the whole set. (As an Amazon Associate, HomemadeRecipes.com earns from qualifying purchases.)
4. Standardize Shape and Size
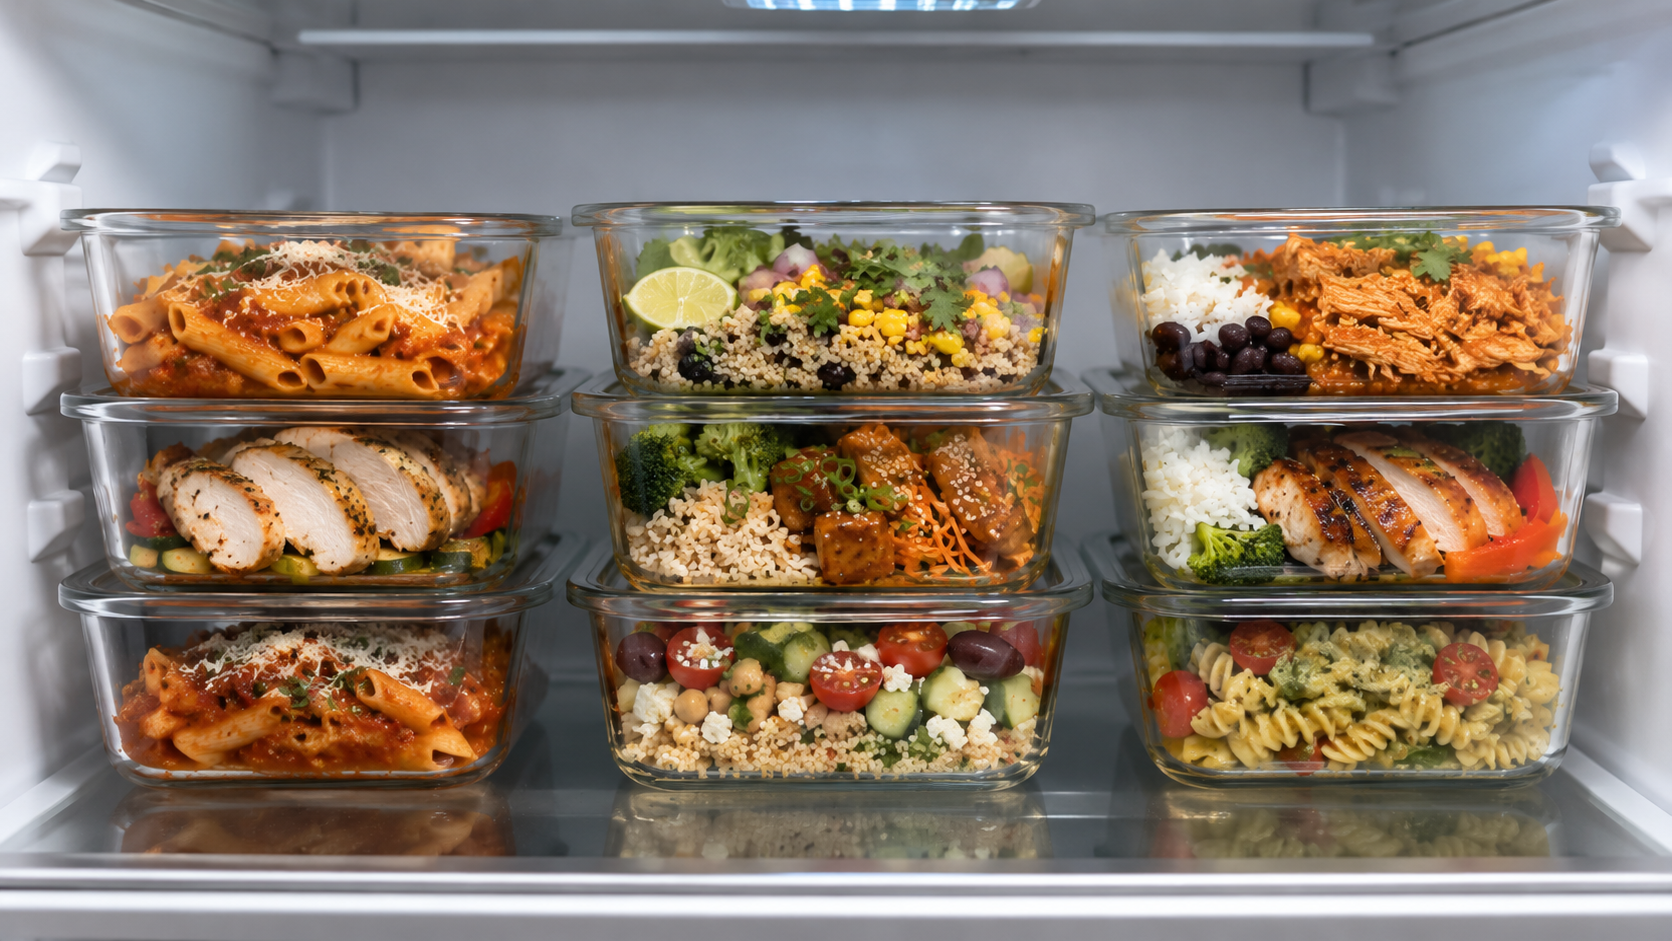
Two or three consistent sizes, in square or rectangular shapes, do more for storage efficiency than any individual container purchase.
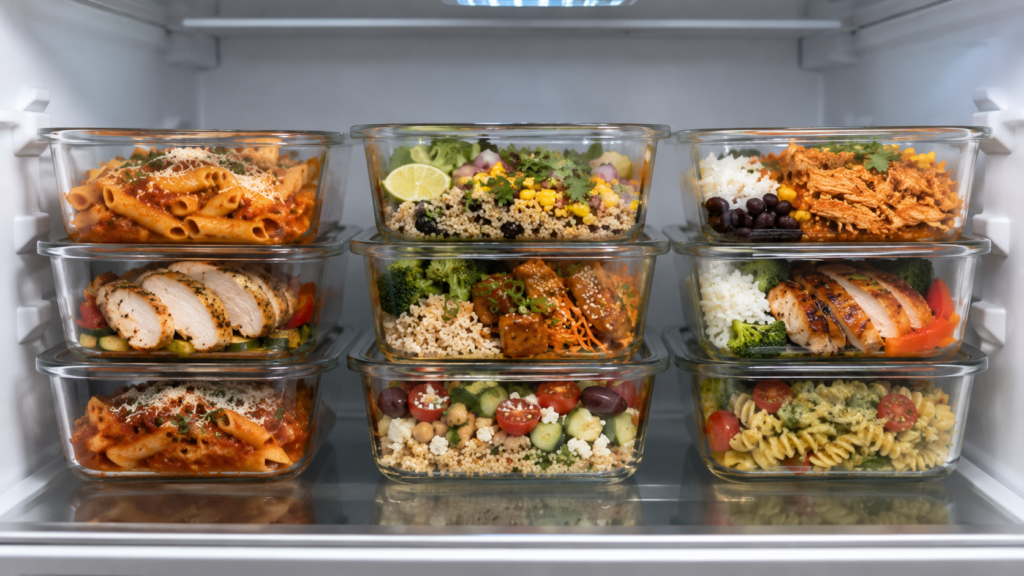
- Squares and rectangles stack. Round containers leave gaps that waste fridge space.
- One universal lid size across multiple container sizes means fewer lids to lose track of.
- A consistent system makes the fridge scannable at a glance, which matters more for actually using prepped food than any single container feature.
5. Freeze in Portions, Not Bulk
A single large container of frozen soup or sauce means defrosting the whole thing even for one serving. Pre-portioned freezing solves that.
Substitution note: No specialty trays on hand? Ice cube trays or muffin tins work for small portions of sauces, pesto, or broth — just transfer to a freezer bag once frozen solid.
For larger portions like shredded chicken, chili, or sauce, a dedicated freezer tray with pre-marked fill lines takes the guesswork out of portioning. Souper Cubes 2-Cup Silicone Freezer Molds pop out individual, stackable portions once frozen. (As an Amazon Associate, HomemadeRecipes.com earns from qualifying purchases.)
6. Prevent Stains and Warping Before They Start
A few habits extend the life of any container, cheap or expensive.
- Spray plastic with cooking spray before adding tomato-based food to reduce staining.
- Keep lids on the top rack of the dishwasher, and out of the microwave, to slow warping.
- Let hot food cool slightly before sealing a container — trapped steam speeds up both staining and warping.
7. Fix Stains and Smells Instead of Replacing the Container
A stained or slightly smelly container isn't automatically trash.
- For stains: Fill with water, add a tablespoon of white vinegar, and set in direct sunlight for a few hours. UV breaks down the staining pigment.
- For smells: Crumple newspaper inside, close the lid, and leave overnight. The paper absorbs lingering odor.
- If it persists after two attempts, the plastic has likely absorbed it permanently — that's the point to replace it, not before.
Conclusion
A budget container system isn't about buying the cheapest option available. It's about spending on the pieces that actually take a beating from heat and sauce, using what's already on hand everywhere else, and maintaining what you own instead of replacing it every season. Start with what's in the kitchen, and spend your next purchase on glass.
Get the Printable Version
Download the one-page container checklist below — what to keep, what to buy, and the quick maintenance fixes, ready to tape inside a cabinet door.
FAQ
What are the best budget meal prep containers for someone just starting out? A small glass set (4 to 6 pieces) covers the most common uses without a big upfront cost. Add pieces over time rather than buying a full set immediately.
Is it actually cheaper to buy cheap plastic containers? Not usually. Thin plastic that warps or stains within a year often costs more over time than one glass set that lasts 5 to 10 years.
Can I use mason jars for meal prep storage? Yes, for dry goods, dressings, and cold items like overnight oats. They're not ideal for reheating in the microwave with the lid on.
How many meal prep containers do I actually need? Most households do well with 8 to 12 containers in 2 to 3 sizes. More than that usually means containers sitting unused in a cabinet.
What's the best way to store food to prevent it from going bad faster? Cool food before sealing it, and use airtight lids specifically — a loosely fitting lid lets in air that speeds up spoilage regardless of container material.
Do glass meal prep containers actually last longer than plastic? Yes. Quality glass typically lasts 5 to 10 years of regular use, compared to 6 to 12 months for most budget plastic sets before warping or losing its seal.
Can I put budget meal prep containers in the freezer? Glass and silicone both freeze well. Leave about an inch of headroom for liquids, since they expand as they freeze.
What should we cover next?
You've got the container system down. What's the next piece of the meal prep puzzle?
📋 A full weekly meal-planning system to pair with this 🥘 Freezer-friendly recipes built for these exact containers 💸 More budget kitchen organization hacks 🧊 A guide to what actually freezes well (and what doesn't)
Vote in the comments and tell us what you'd actually use.