


How to Make No-Knead Artisan Bread: Key Takeaways
- No-knead bread recipe works because a wet dough and a long 12–18 hour rise time naturally develop gluten.
- The method is almost entirely hands-off: mix the dough, let it rest, shape lightly, and bake in a preheated Dutch oven.
- Expect a crisp, golden crust with a soft, airy interior similar to bakery-style artisan loaves.
- Total timeline: 5 minutes of mixing, overnight rise, 1–2 hour second rise, 45–50 minutes of baking.
There’s just something about the smell of fresh bread wafting through the house. It wraps you in warmth like a cozy blanket on a chilly day. It’s the kind of aroma that makes your stomach grumble and your heart feel at home. Best of all, you don’t need to run to the bakery to experience it. No fancy equipment, no complicated techniques, just simple ingredients and patience. That’s the beauty of no-knead artisan bread. In this recipe, all you need is time (and maybe a little flour on your shirt for good measure!). Ready to bake your new favorite loaf? Let’s get started!
The No-Knead Method
What makes this recipe “no-knead” is the combination of a very wet dough and a long, slow rise. Traditional bread often relies on kneading to strengthen the gluten network. Meanwhile, this simpler approach involves increased hydration and a 12–18 hour rest to help the strands form and give the dough time to develop elasticity. That’s why this recipe still gives you the same airy crumb and artisan crust you’d get from a kneaded loaf.
Let’s Bake This Bread!
Now, let’s break down the process. It might sound too simple to work, but it absolutely does. Here’s how to go from a bowl of ingredients to a freshly baked loaf of artisan bread.
What You’ll Need
- 3 cups all-purpose flour
- 1 1/2 teaspoons salt
- 1/2 teaspoon active dry yeast
- 1 1/2 cups water (room temperature)
1. Mix It Up
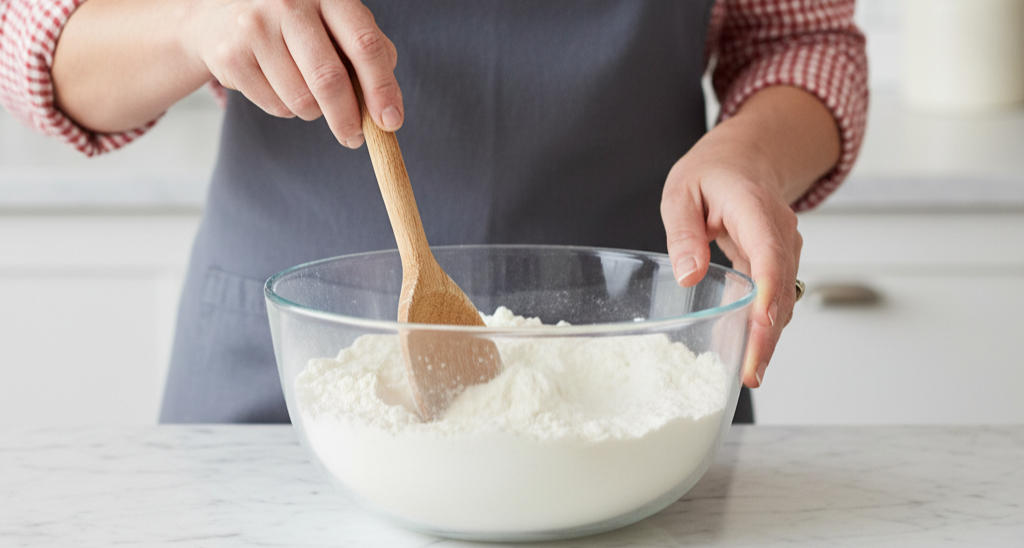
In a large bowl, whisk together the flour, salt, and yeast until well combined. Afterward, pour in the water and stir until everything comes together. You want the dough to be sticky and shaggy. Then, cover the bowl with a towel or plastic wrap and let it rest at room temperature (12 to 18 hours). Yes, this part takes a bit of time, but it’s what gives the bread its flavor and texture.
2. Shape It
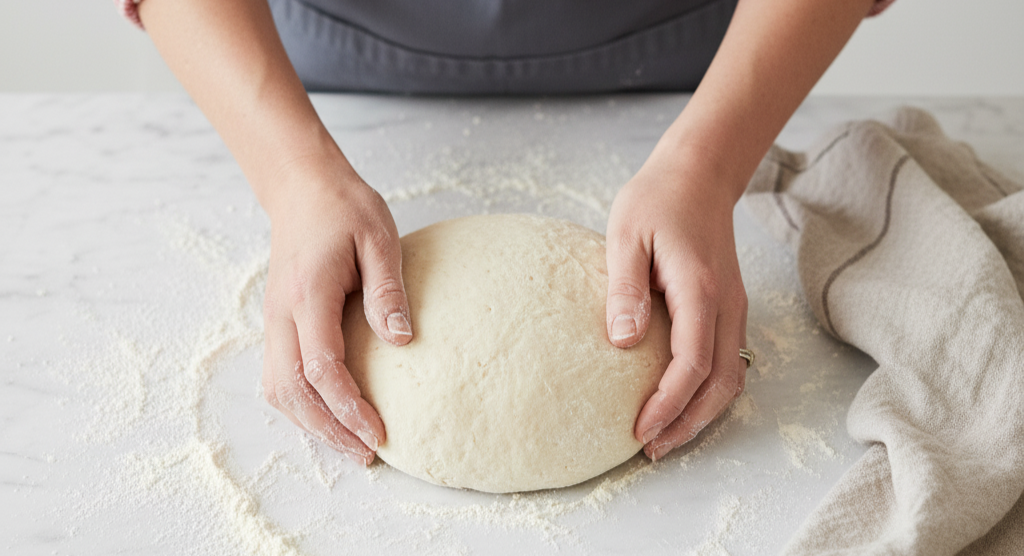
Once the dough rises, it'll be full of bubbles and look a little more alive. Sprinkle some flour onto a clean surface and place the dough. Then, fold the dough a few times to shape it into a rough ball. The idea is to ensure it holds together without overworking it. After shaping, cover it with a towel again and let it rise for another 1-2 hours. When you check back, it should look puffed up and ready to bake.
3. Preheat Your Oven & Pot
Now it’s time to preheat. Set the oven to 450°F (232°C) and let it heat up for about 30 minutes. Here’s the trick: place your Dutch oven or heavy pot with a lid inside the oven while it preheats. The pot should be hot enough to help the bread achieve that irresistible, crispy crust.
4. Bake the Bread
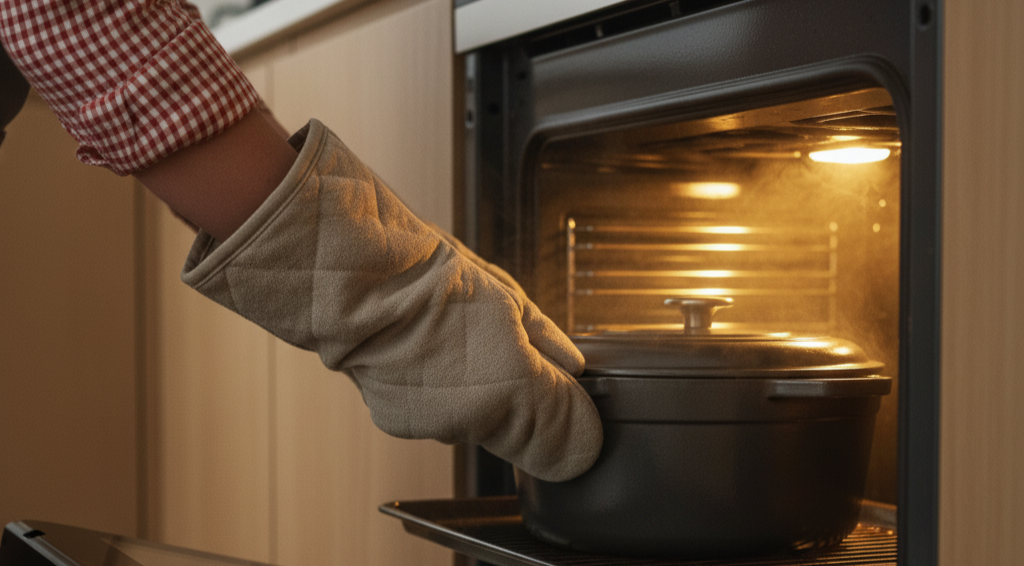
Carefully remove the pot from the oven (use oven mitts, it’ll be hot!). Gently drop the dough into the pot and ensure it stays in a nice round shape. Then, replace the lid on and return it to the oven. Bake for 30 minutes, remove the lid and bake for another 15-20 minutes. After that, the bread should be golden brown with a beautiful, crispy crust and soft and airy on the inside.
5. Let It Cool
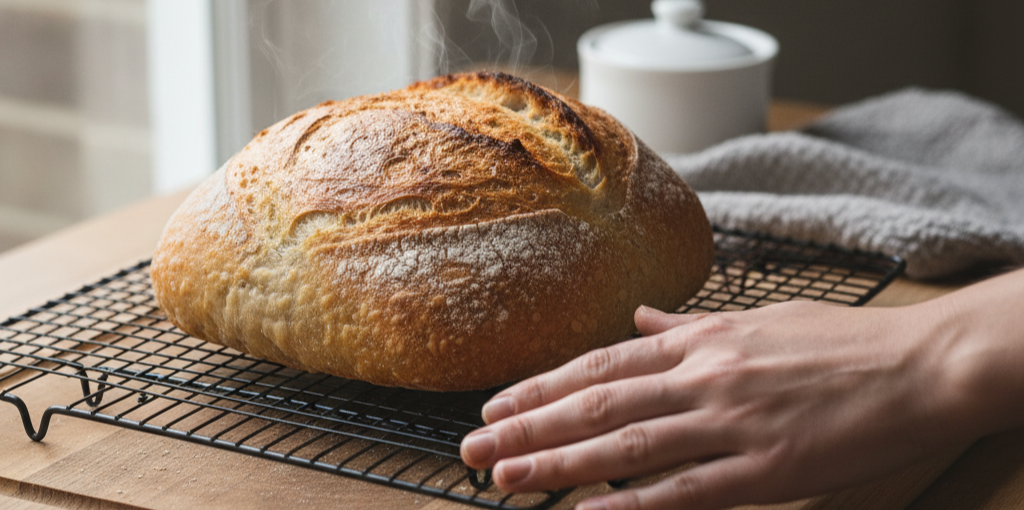
Here’s the hardest part: resist the urge to slice the bread immediately! Let it cool for at least 30 minutes before cutting. While it's tempting to dive right in, allow it to cool to help the crumb set and enhance the texture.
If you want a stronger flavor and a more bakery-style crust, you can make this loaf as sourdough. Replace the yeast with about ½ cup of active starter, keep the long overnight rise, and bake as usual. For the full method, see our sourdough bread guide.
The Perfect Pairings 🍽️
After baking and cooling, this no-knead artisan bread offers so many possibilities. A thick slice with butter is simple yet comforting. If you want something heartier, use it as a sandwich base. Add your favorite deli meats, cheeses, or fresh vegetables for a satisfying bite.
No-knead artisan bread also complements soups, stews, and salads perfectly. Just the thought of dunking a warm slice into creamy tomato soup is pure comfort. If any bread remains (though unlikely), transform it into French toast the next morning. This bread’s versatility elevates any dish and makes every meal a bit better.
Tips for Success 💡
- Use room temperature water. Water that’s too hot can kill the yeast, while water that’s too cold slows everything down. The sweet spot is lukewarm water, just warm enough to the touch.
- Don’t overwork the dough. Keep it simple. Overhandling the dough makes the loaf dense and heavy. Instead, gently fold it to maintain its airy texture.
- Hot pot, hot oven. Make sure your Dutch oven is preheated. This ensures the bread gets that perfect, crispy crust and stays moist on the inside.
- Give it time. Patience truly makes a difference. The longer rise time helps develop the dough’s flavor and texture. If you rush it, you’ll miss out on a better loaf.
FAQs About No-Knead Artisan Bread
- Can I use whole wheat flour instead of all-purpose flour? Yes, but whole wheat flour will make the bread denser. You can also try a mix of both for a lighter texture.
- Can I make this bread without a Dutch oven? Yes! You can use any oven-safe pot with a lid. If you don’t have one, you can try baking it on a baking sheet, but it won’t have quite the same crispy crust.
- How long will the bread stay fresh? Homemade bread is best eaten within a few days, but you can freeze it for longer storage. Wrap it tightly in plastic and store it in the freezer for up to 3 months.
- Do I really need to let the dough rest for 12-18 hours? Yes! That long resting period is crucial for the bread to develop flavor and texture.
- Can I add herbs or cheese to the dough? Absolutely! Feel free to add garlic, rosemary, or even shredded cheese to the dough for a flavorful twist.